Home Theatre Pre-Wiring in the GTA: What to Rough In Before Your Walls Close
Planning a home theatre during a renovation or new build? Here is exactly what to rough in before the drywall goes up — cables, speakers, equipment locations, and the mistakes that are expensive to fix later.

SetupTeam has designed and installed home theatre systems across the Greater Toronto Area for over a decade — more than 10,000 projects, 400+ five-star Google reviews, and certifications as a Sonos Gold Dealer and Control4 Authorized Dealer. What we have learned consistently is that the decisions made before drywall goes up decide the quality of every home theatre system that follows. This guide covers exactly what to plan, what to rough in, and what to avoid when you pre-wire for surround sound in a GTA home.
What Exactly Is Home Theatre Pre-Wiring?
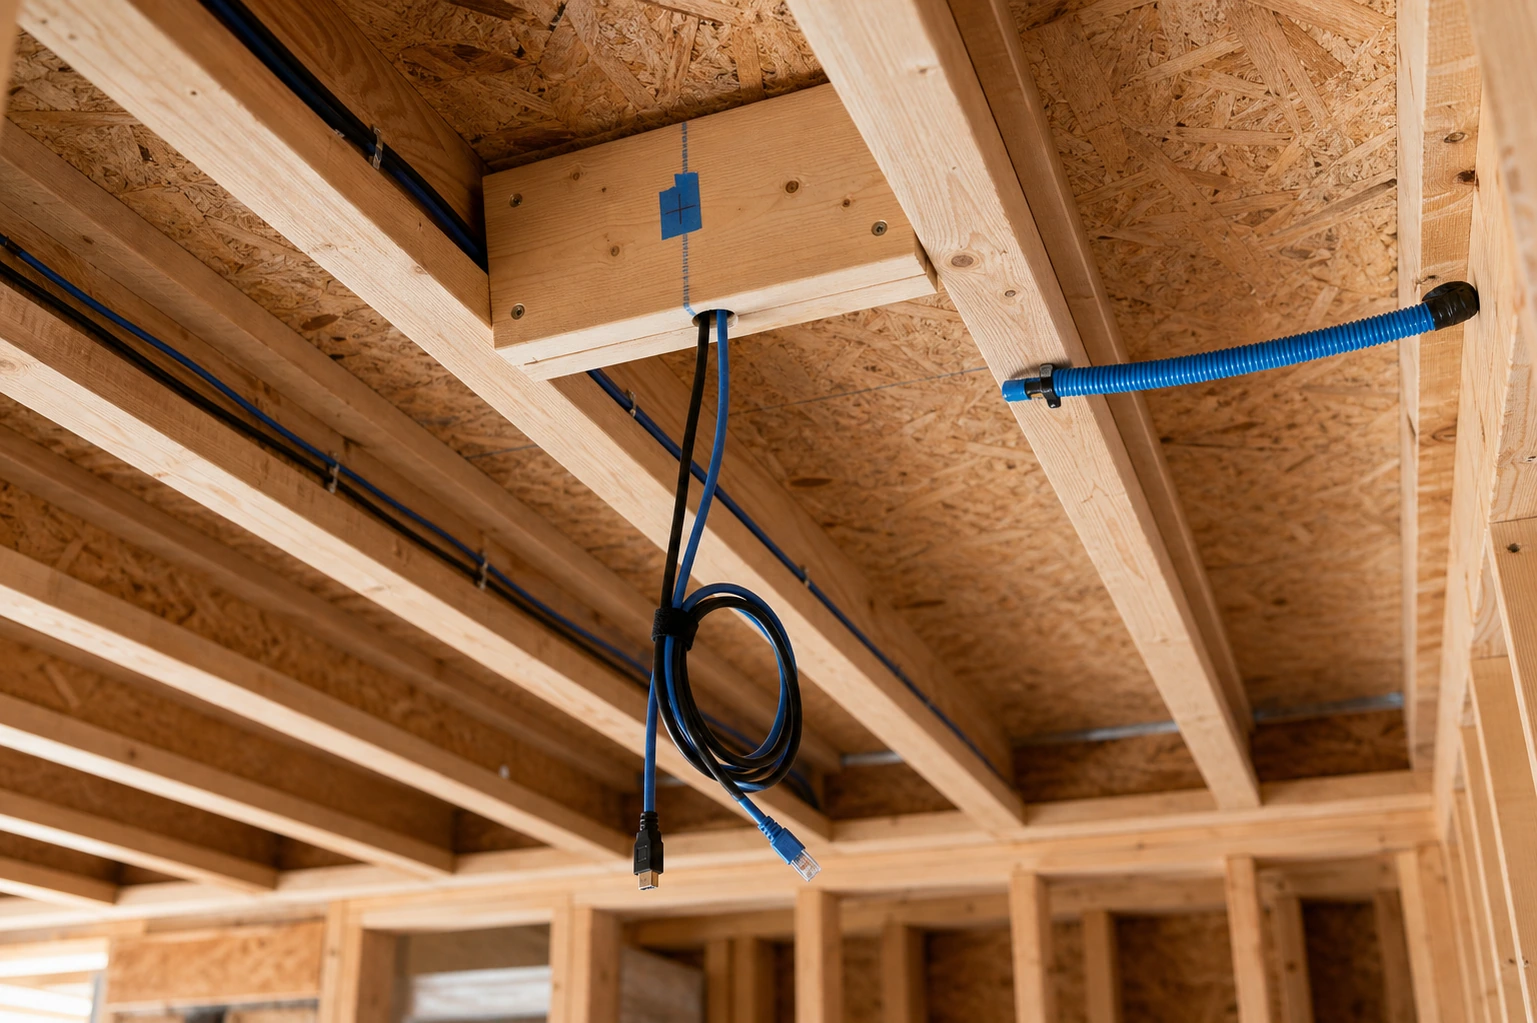
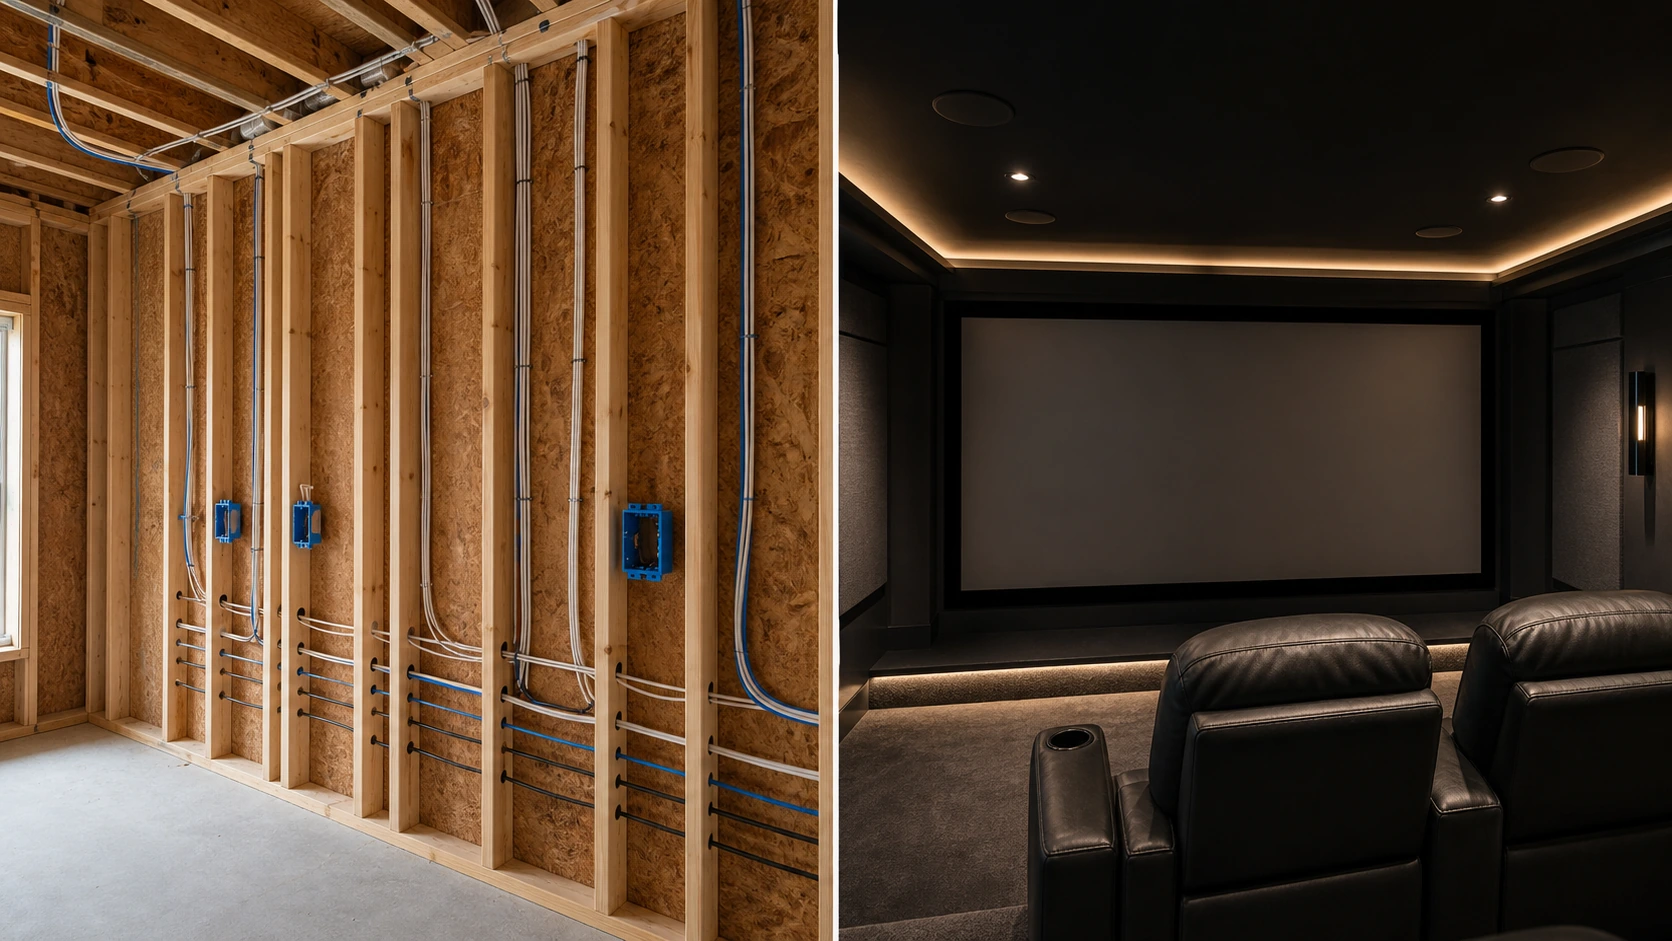
Pre-wiring is the stage in a renovation or new build where low-voltage cables — speaker wire, HDMI, Cat6, and coax — are run through wall cavities and ceiling joists before insulation and drywall are installed. At this stage, access is open and cable runs are clean. Once the walls close, the same home theatre wiring needs cutting, fishing, patching, and repainting — all of which adds real cost and rarely matches the finished result. Running surround sound wires in walls while the framing is exposed is also the only reliable way of hiding speaker wire in the wall completely, with no surface raceway and nothing showing. Pre-wiring is not about installing equipment. It is about placing the infrastructure the equipment will connect to later.
When Is the Right Time to Pre-Wire for a Home Theatre?
The correct sequence is: framing complete, then electrical rough-in, then HVAC ductwork, then low-voltage pre-wiring, then insulation, then drywall. Low-voltage cable must be run after HVAC and electrical to avoid conflicts with duct runs and to keep safe separation from high-voltage wiring. If you are finishing a basement, the same window applies — once the framing is up and before insulation goes in is when the basement home theatre wiring needs to happen. Booking the pre-wiring consultation in this window is what makes a clean install possible. Waiting until after drywall is always more expensive, and almost always a compromise.
What Cables Do I Need to Pre-Wire a Home Theatre?
You need four cable types: in-wall speaker wire to every speaker position, coax for the subwoofer, and HDMI plus Cat6 to the display or projector. Speaker wire runs from the equipment location to front left, front right, centre, the surrounds, and the ceiling channels. Use in-wall rated speaker wire (CL2 or CL3 rated) at a minimum of 14 AWG for standard runs, and 12 AWG for longer distances — the rating is what satisfies in-wall code, not just the gauge. Coax (RG6) carries the subwoofer signal run; an in-wall RCA subwoofer cable is the alternative where the layout calls for it. Two HDMI and two Cat6 cables run to the display or projector position. Dedicated electrical is handled separately, below.
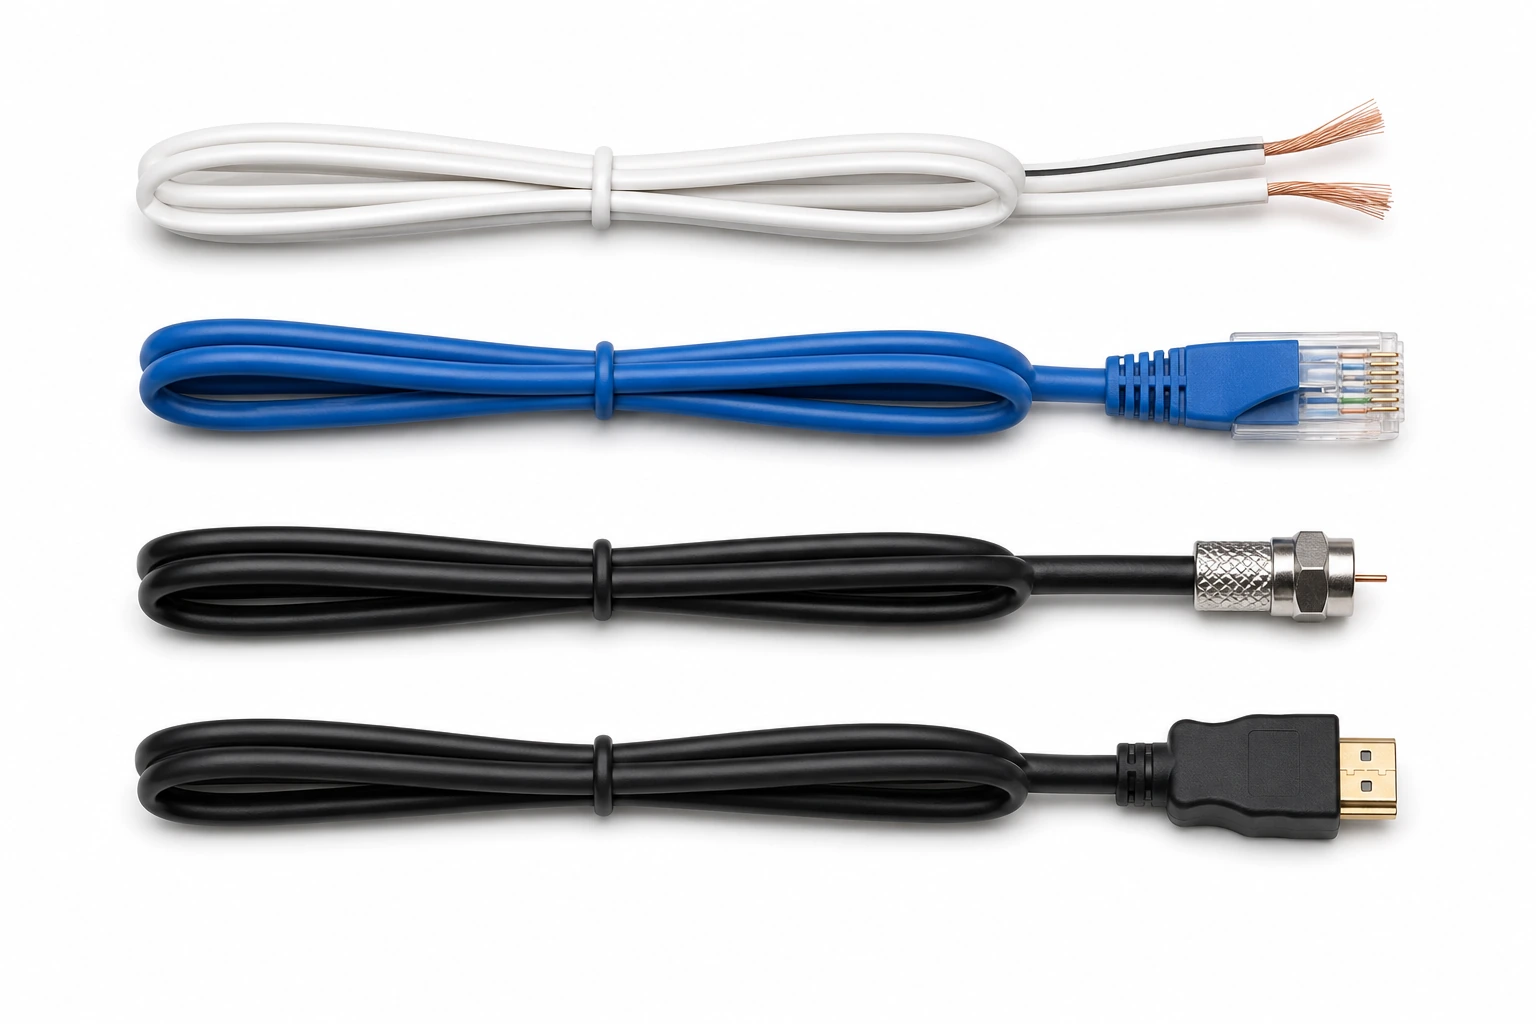
The pre-wire cable checklist
- In-wall speaker wire — CL2/CL3 rated, 14 AWG standard, 12 AWG for long runs, to every speaker position
- Coax (RG6) — subwoofer signal run
- 2× HDMI — to the display or projector position
- 2× Cat6 — to the display or projector position, plus structured runs back to the equipment location
Do I Need Conduit for My Projector or Display?
In most well-planned installs, no. Two HDMI and two Cat6 cables run to the projector or display position will serve the system reliably for decades. Cat6 in particular is adaptable — through extenders and adapters it can carry almost any signal type, which is why it answers most "types of projector cables" questions on its own. For a ceiling-mount projector, the wiring and projector cable management are planned at rough-in so nothing is visible later, and a home theatre conduit is added only where a future cable pull is genuinely likely. A motorised screen position should also get its low-voltage run roughed in. For most rooms, conduit adds cost and complexity without meaningful benefit.
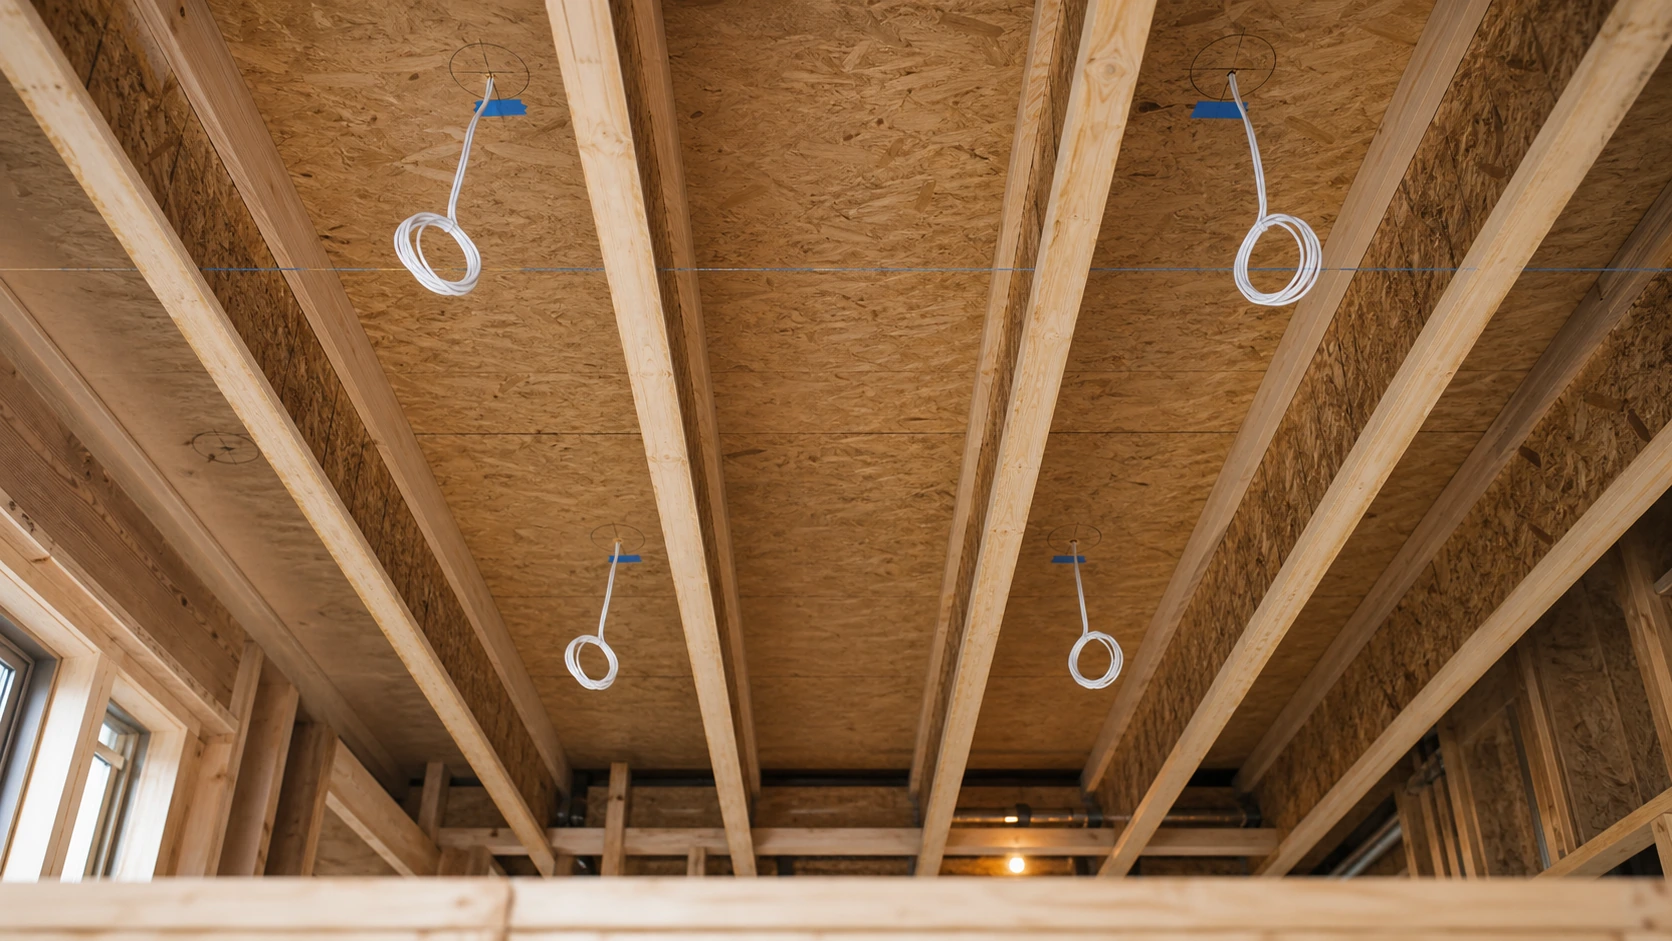
How Do I Pre-Wire for Dolby Atmos In-Ceiling Speakers?
Dolby Atmos adds a vertical dimension to surround sound by placing speakers overhead, so the wiring decisions are made before the ceiling is closed. A minimum ceiling height of 7.5 feet is required. Height speakers should sit at 45 to 55 degrees of elevation from the primary listening position. A 5.1.2 system — two ceiling channels — is the entry point; a 7.1.4 system suits most dedicated rooms. Wire for the maximum configuration the room can realistically support. Ceiling geometry matters: a Dolby Atmos vaulted ceiling, a sloped ceiling, or a high ceiling each changes where the dolby atmos in-ceiling speaker drops land, so the speaker positions are marked and wired to the angle the room actually has, not a flat-ceiling assumption.
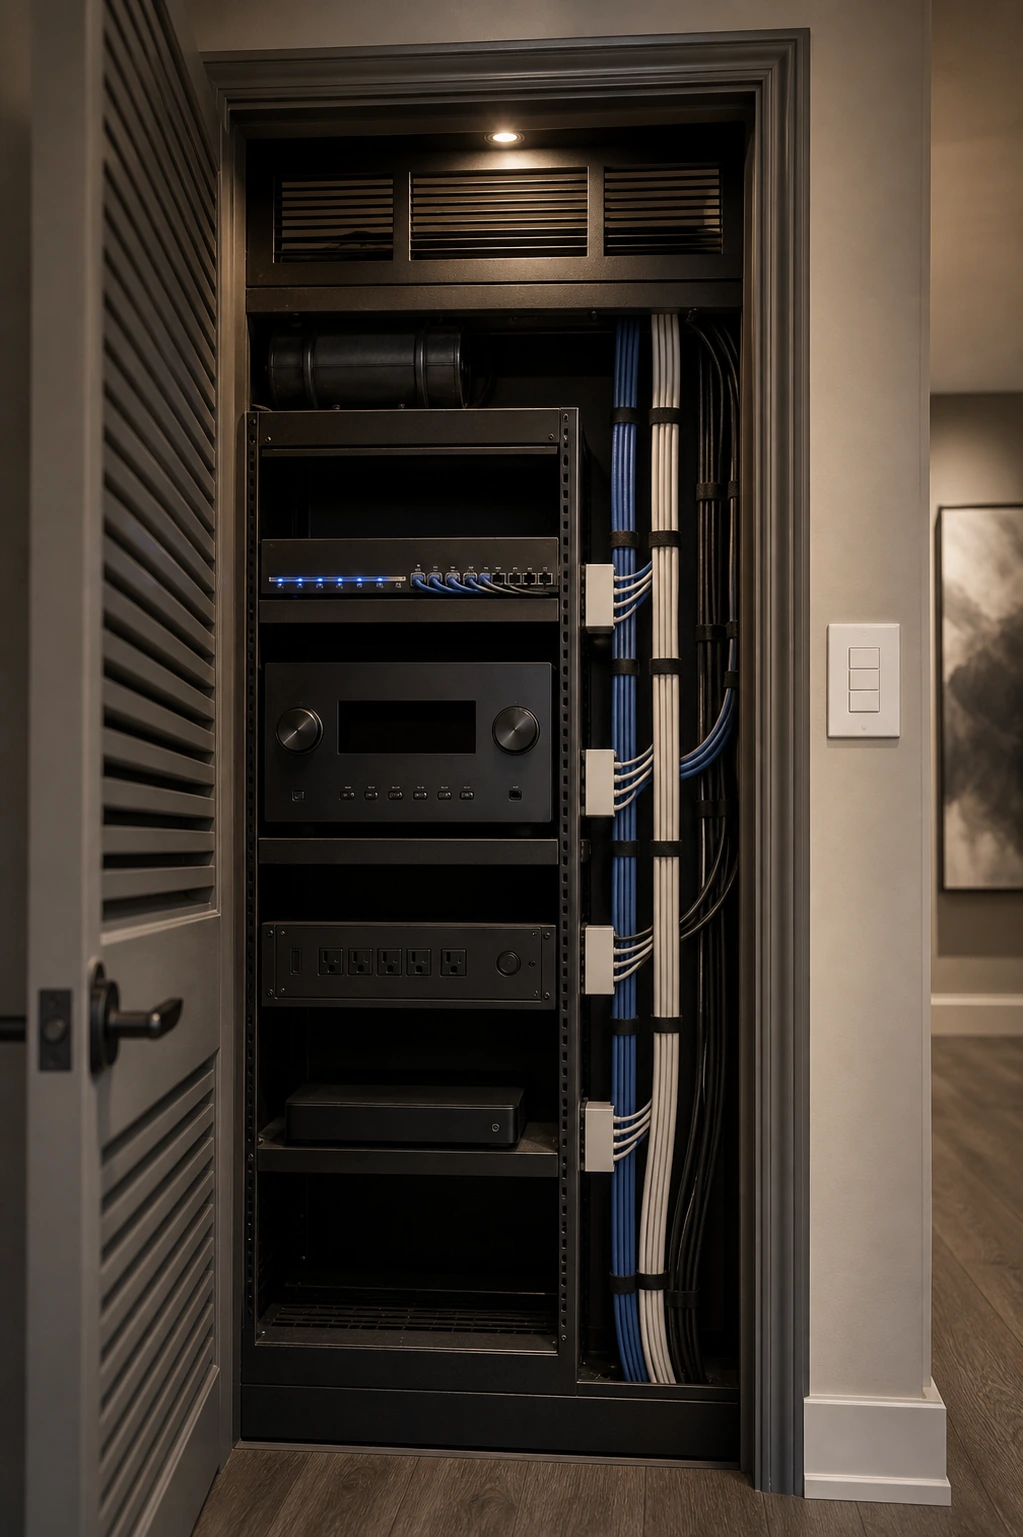
Where Should I Put the AV Equipment Rack or Receiver?
In a dedicated, ventilated equipment closet — decided at rough-in, because it determines where every cable in the system terminates. AV receivers generate significant heat in operation. Placing a receiver inside sealed cabinetry restricts airflow and shortens equipment lifespan considerably. The equipment location is the hub every speaker wire, HDMI, Cat6, and coax run returns to, so fixing it early is what keeps the home theatre wiring setup clean. Plan the closet position first; everything else home-runs back to it.
What About Gaming Consoles When Equipment Is Hidden?
Run a dedicated gaming drop — one extra HDMI and one Cat6 cable — to an accessible point inside the theatre room itself. A PlayStation 5 or Xbox cannot be reliably extended to a separate equipment room. PlayStation 5 and Xbox controllers communicate directly with the console over short-range wireless, so extending the console signal introduces input lag. Keeping the console in the room, on its own roughed-in drop, avoids that entirely.
Does a Home Theatre Need a Dedicated Electrical Circuit?
Yes — a dedicated 20-amp circuit protects sensitive equipment and prevents interference from other loads on the same line. This is part of the home theatre electrical layout and must be coordinated with your electrician during the rough-in phase, before the low-voltage cabling goes in. The dedicated circuit is high-voltage electrical wiring and stays separated from the low-voltage home theatre runs — the two are planned together but kept apart in the wall.
How Do I Pre-Wire for Control4 Smart Home Automation?
Control4 home automation needs a dedicated Cat5e cable for the control signal, in addition to the Cat6 cables used for network and signal extension. All cables home-run to the central equipment location where the Control4 controller is housed. Running Cat6 through walls to each source and display, plus the dedicated control run, is what lets one keypad later dim the lights, drop the screen, and start a film. The control wiring — like the rest of the structured network wiring — is roughed in at the same stage as everything else; retrofitting it after drywall is the expensive path.
Can I Add Home Theatre Wiring After Drywall Is Installed?
Yes, but retrofit wiring in a finished space means cutting access holes, fishing cables through insulated wall cavities and ceiling joists, patching drywall, and repainting. The labour cost of retrofit wiring is typically several times that of pre-wiring for the same scope. It is also where hiding speaker wire in drywall gets hardest — some runs simply cannot be reached without opening the wall. Retrofit is a real option when pre-wiring was missed; it is just never the cheaper or cleaner one.
How Much Does Home Theatre Pre-Wiring Cost in the GTA?
There is no single price, because no two rooms are identical. The cost is driven by the distance between the equipment location and the display position, the number of speaker channels, ceiling construction, accessibility, and the electrical coordination involved. A simple media-room rough-in and a full 7.1.4 dedicated-room pre-wire are very different jobs. SetupTeam provides consultations before drywall to assess the room, confirm cable paths, and plan the system layout — so the quote reflects the actual room, not a guess.
What Mistakes Do Homeowners Make When Pre-Wiring a Home Theatre?
Five recurring mistakes turn a good room into a compromised one. Each is avoidable at the rough-in stage and expensive to fix afterwards.
- Wiring for fewer speakers than the room can support
- Not planning the equipment location before pre-wiring starts
- Placing the equipment inside sealed cabinetry with no ventilation
- Missing the timing window between framing and insulation
- Forgetting the in-room gaming console drop
SetupTeam: Home Theatre Pre-Wiring Across the GTA
SetupTeam handles home theatre pre-wiring across the GTA — Toronto, Mississauga, Oakville, Vaughan, Richmond Hill, Markham, Newmarket, Aurora, and King City. We coordinate with your builder or contractor during the rough-in window, plan the full system layout before drywall, and run every cable to spec. If you are at the framing stage now, that is the moment to book. Explore our home theatre installation services to see the full scope, or schedule a pre-wiring consultation below while the walls are still open.
Walls still open? Plan the wiring now.
Book a pre-wiring consultation while the framing is exposed and we'll plan cable paths, speaker positions, and the equipment location to spec — before drywall closes.
Frequently Asked Questions
6 answersPre-wiring happens before drywall is installed, while walls and ceilings are open. Retrofit wiring happens in a finished space and requires cutting, fishing, patching, and repainting. Pre-wiring is faster, cleaner, and significantly less expensive for the same scope of work.
The physical cable runs are low-voltage work, but correct speaker placement, cable selection, and equipment location planning take experience. Errors at rough-in stage are expensive to correct after the walls close. A professional consultation before pre-wiring starts is always recommended.
14 AWG CL2 or CL3 rated in-wall speaker wire is appropriate for most runs under 50 feet. For longer runs, 12 AWG is recommended. All in-wall wire must carry an in-wall rating, which is what satisfies code, not the gauge alone.
Two Cat6 cables to the display or projector position is the standard recommendation. Cat6 is adaptable — it can carry network, control signals, and video through extenders — and two runs provide redundancy without over-engineering the rough-in.
Yes. Control4 integration requires a dedicated Cat5e cable for the control signal, in addition to the Cat6 cables used for network and signal extension. This must be planned at rough-in stage and home-run to the central equipment location.
A passive in-wall subwoofer is a speaker driver mounted in the wall, ceiling, or floor that uses regular speaker wire but needs a dedicated external amplifier. It is a high-end alternative to a freestanding powered subwoofer and must be planned at rough-in to accommodate both the speaker position and the amplifier location.
Book the pre-wire while the framing is still open
SetupTeam coordinates with your builder during the rough-in window and runs every cable to spec — speaker, HDMI, Cat6, coax, and Atmos drops — as part of home theatre installation across the GTA.
If you're at the framing stage now, that's the moment to book.