Ubiquiti UniFi installation in Toronto — Network, Protect & Access
UniFi Network, UniFi Protect, and UniFi Access — gateways, switches, access points, cameras, and door readers designed, wired, and configured by one team. No partial installs. No hand-offs between contractors.
What does a full UniFi installation include?
Most installers handle one piece. We handle the full Ubiquiti UniFi ecosystem — UniFi Network, UniFi Protect, and UniFi Access — from a single scope, one cable run plan, and one configuration session. The Cat6 backhaul our access points and cameras run on is part of our wider network cabling and structured wiring service.
Wired foundation
Gateway, PoE switching, structured Cat6 cabling, and access point placement — built for whole-property coverage without dead zones or mesh compromises.
- UDM Pro / Cloud Gateway Ultra setup
- UniFi Switch (PoE) installation
- Cat6 drops to all AP locations
- U6 / U7 series access point mounting
- VLAN, guest network, IoT segmentation
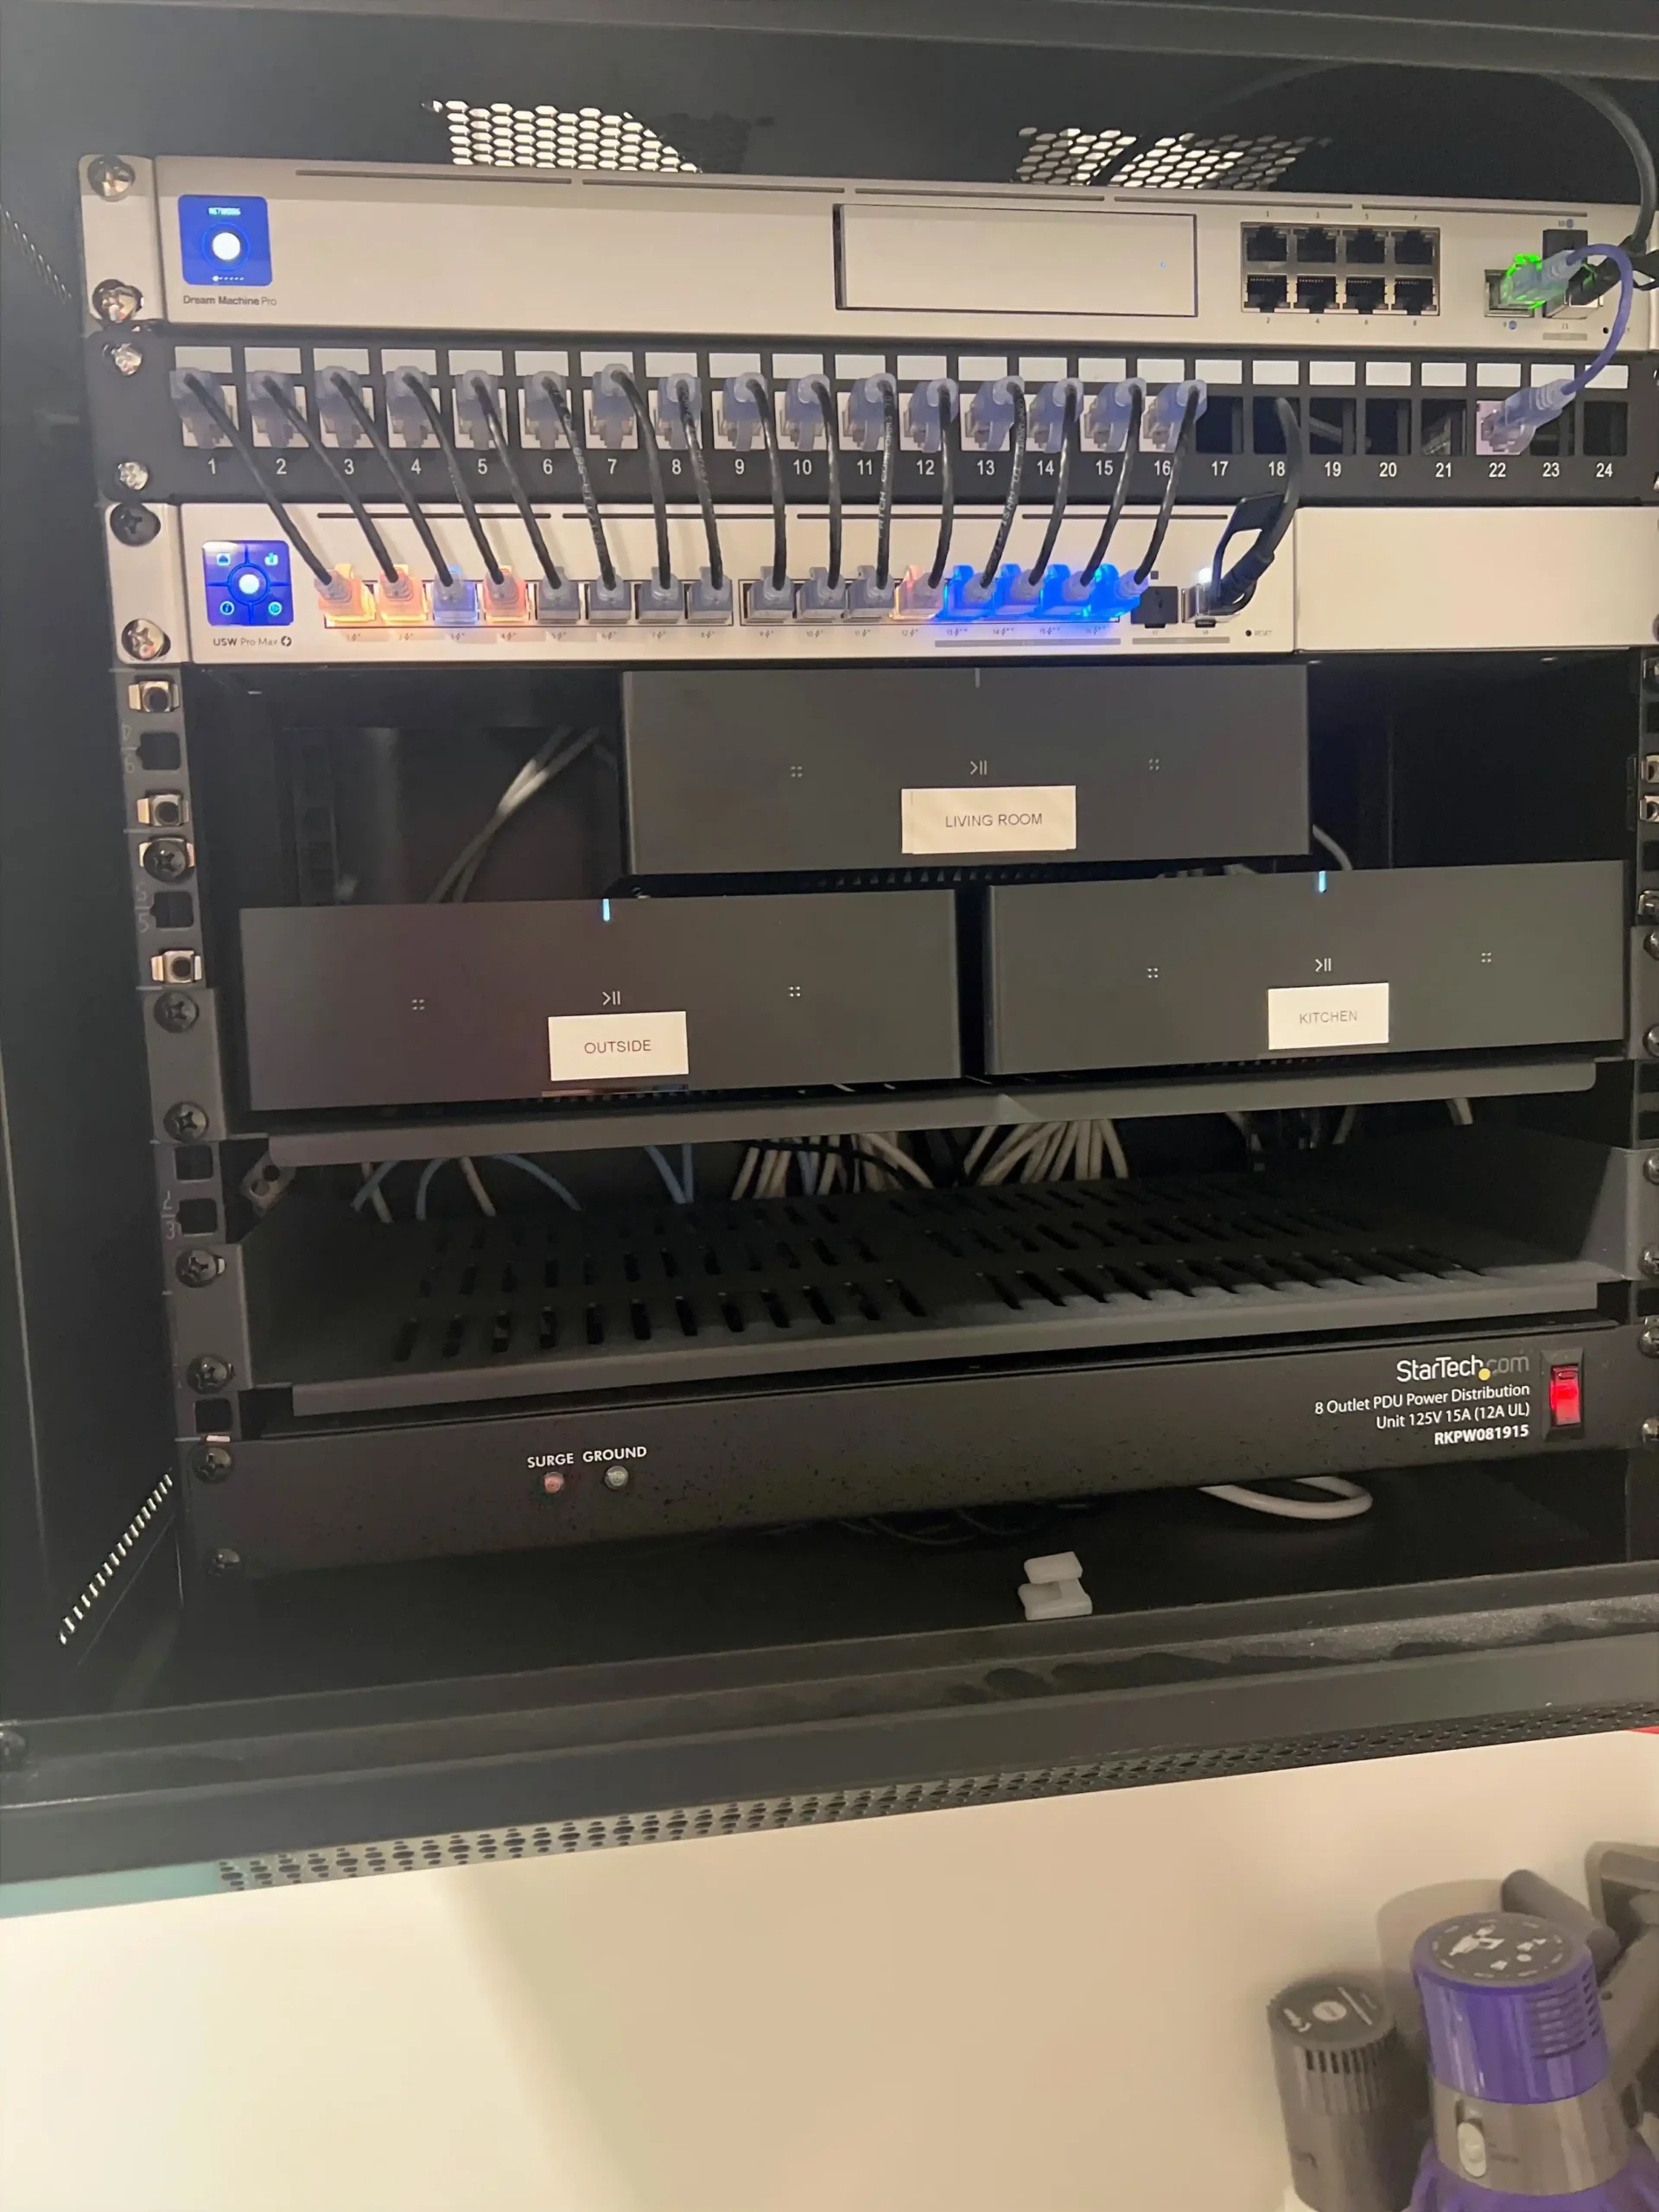
- Rack build and cable management
Local surveillance
Camera installation with PoE-powered wired runs, local NVR storage, and app-based remote access. No cloud subscription required for core functionality.
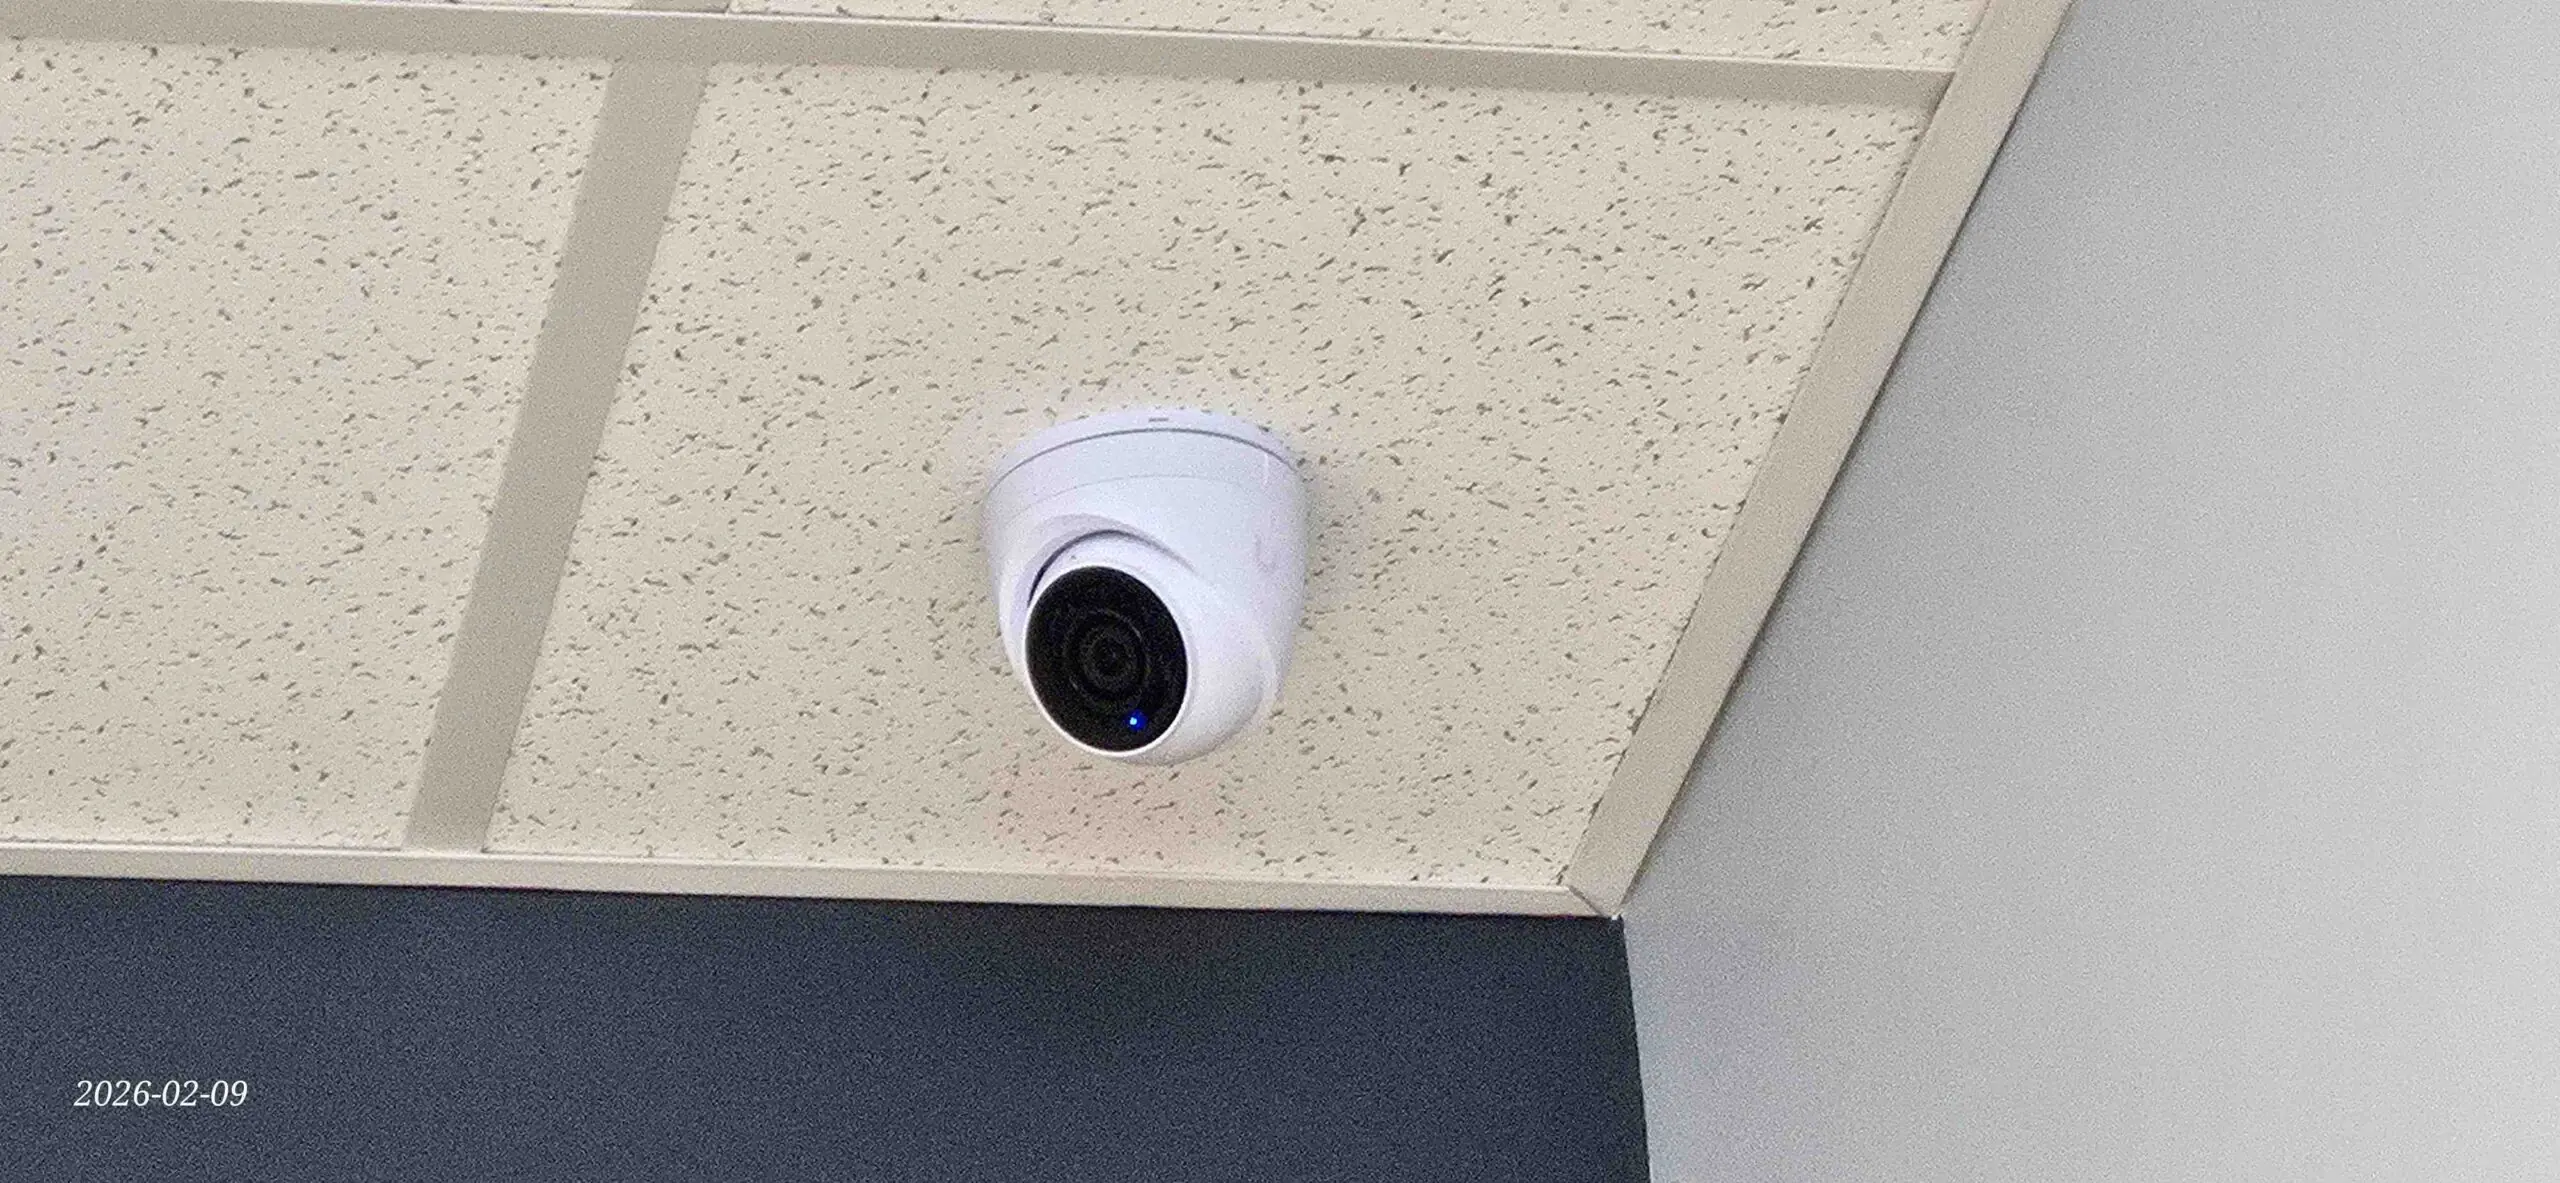
- G4 / G5 / G6 series camera install
- UNVR or Cloud Key+ for local storage
- PoE Cat6 drops to each camera
- Outdoor mounting — eave, soffit, wall
- UniFi Protect app configuration
- Motion zones and alert setup
Door & entry control
Door readers, hubs, and intercoms that integrate with your UniFi network and Protect cameras — managed from the same console as everything else.
- Access Hub installation and wiring
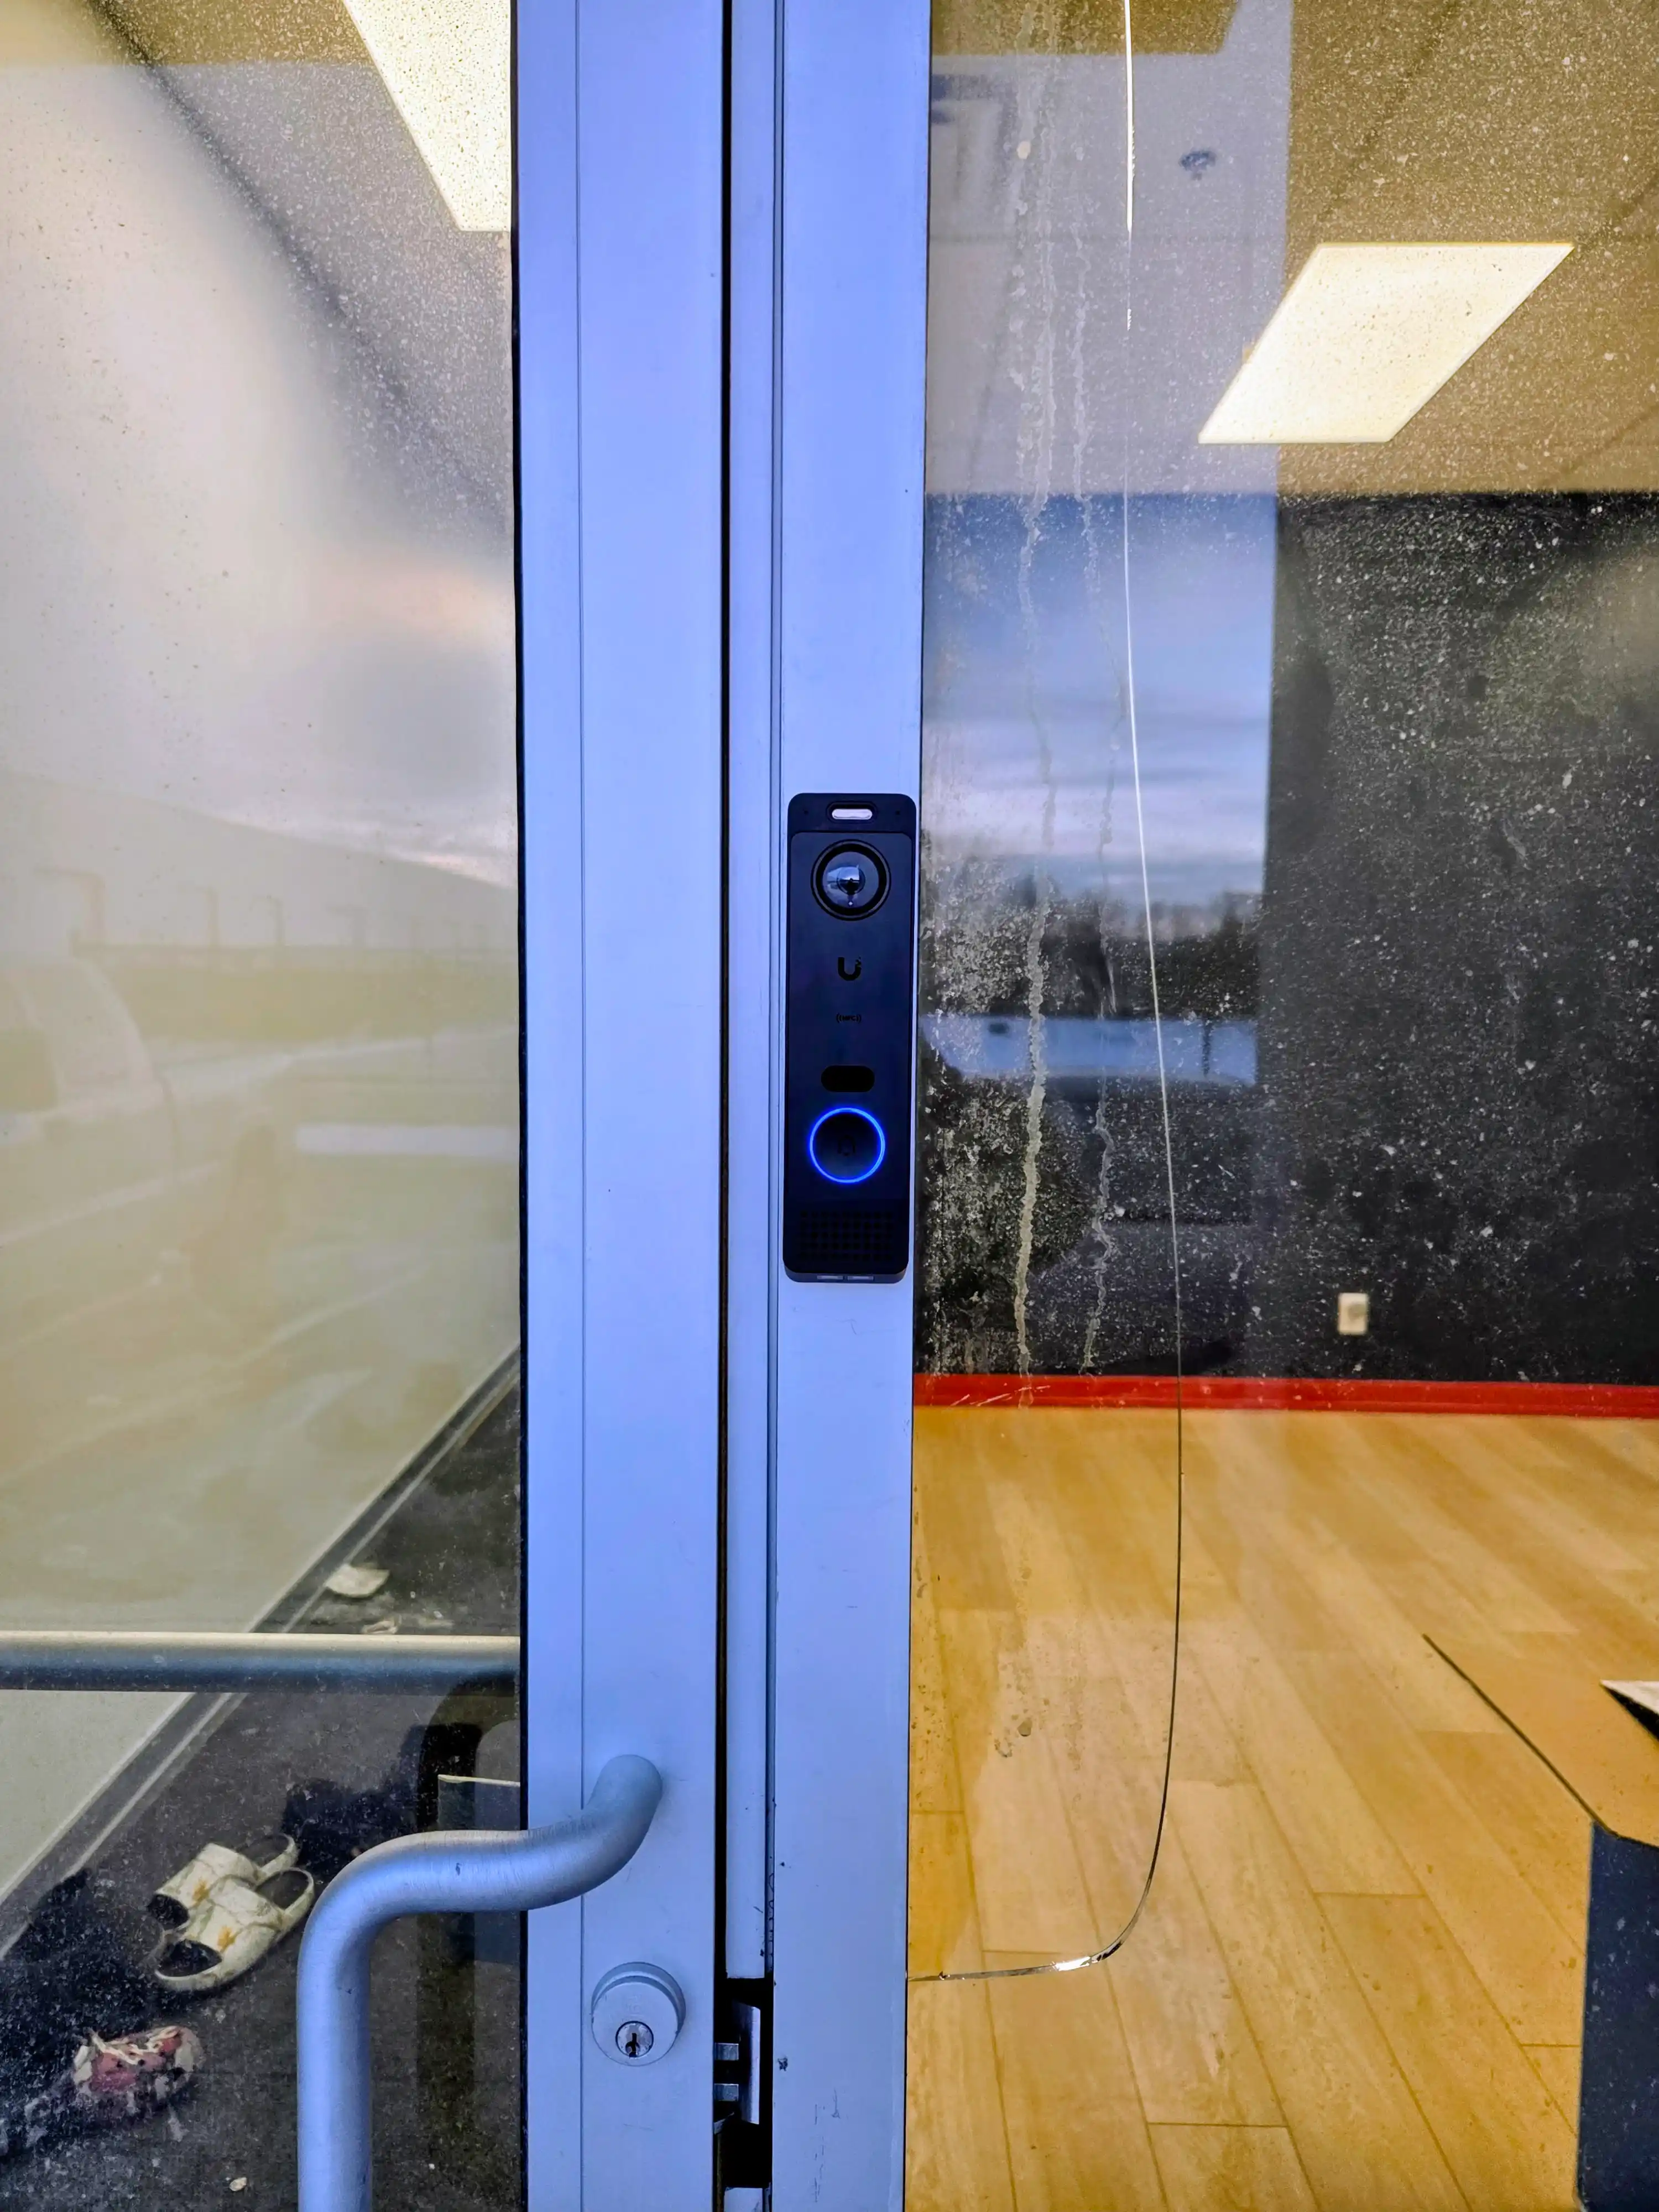
- UA reader / Door Access Mini mounting
- NFC, PIN, and mobile app unlock
- Intercom installation and integration
- Protect camera tie-in for visual verification
- Front door, garage, and gate configurations
Why do Toronto homeowners choose UniFi?
UniFi is not a consumer product. It is an enterprise-grade networking platform from Ubiquiti that scales cleanly into residential use — without the complexity or the enterprise price tag. Where consumer routers are designed to be set up and forgotten, UniFi is designed to be managed: every device is visible, every traffic path is configurable, and the system gives you real insight into what’s happening on your network.
The core of every deployment is the controller — a UDM Pro or Cloud Gateway Ultra — which acts as the gateway, router, and management hub in one. All access points, switches, cameras, and door readers report into this single device. You manage everything from one dashboard, mirrored to the app on your phone. No cloud dependency. No subscription to access your own system.
If you mainly need better wireless coverage rather than a full UniFi build, our Wi-Fi installation and optimization service may be the right starting point.
01 · No subscriptions
UniFi Protect stores footage locally on an NVR or console — no monthly cloud fee required for core surveillance. A clear contrast to Ring and Nest, which gate recordings behind a subscription.
02 · Single dashboard
Network traffic, camera feeds, and door access events are managed from UniFi OS — one console, one app. No switching between three separate platforms to see what’s happening on your property.
03 · Wired backhaul
Access points connect to the PoE switch over Cat6 — not wirelessly to each other. The result is consistent, low-latency coverage without the throughput drop that mesh relay introduces.
04 · Expandable
Add cameras, access points, or door readers as your property or needs change. UniFi hardware is modular by design — you’re not locked into a system that requires a full replacement to expand.
Every UniFi installation starts with a scope review — not a cable run. We confirm placement for every AP, camera, and door reader before any work begins.
Book a Scope ReviewHow does a UniFi installation work in Toronto?
Every installation starts with a scope review — not a cable run. We confirm placement for every access point, camera, and door reader before a single drop is pulled. That keeps the day predictable and the result clean.
Floor plan review
We review your floor plan and confirm placement for every access point, camera, and door reader. Coverage is planned from the layout — not from a product spec sheet.
Structured cabling
Cat6 runs to every AP, camera, and door reader location. Cables are routed, terminated, and labelled. The wired backhaul is what separates a UniFi system from a mesh workaround.
Hardware install
Gateway, PoE switches, access points, cameras, and door hardware are mounted and connected. Each device is physically secured and power-confirmed before configuration begins.
Controller config
VLANs, guest networks, and IoT segmentation are configured in UniFi OS. Protect zones and Access door rules are set up in the same session — one controller, one configuration pass.
Test & handoff
Every device is tested live. You receive a walkthrough of UniFi OS, the Protect app, and the Access app before we leave. The system is yours — fully configured and labelled.
How does UniFi Protect camera installation work?
UniFi Protect is a surveillance application that runs on the UniFi OS console — the same device managing your network. It is not a separate platform, a cloud service, or a monitoring subscription. Cameras connect over PoE Cat6, footage is stored locally on the console or a connected UNVR, and the app gives you remote access from anywhere without a recurring fee for core functionality.
Because Protect lives inside the same ecosystem as your network and access control, a door event can surface a camera view. A network alert can be cross-referenced with footage. Everything is in the same dashboard rather than spread across disconnected apps. If you’re weighing a traditional (non-UniFi) camera system instead, see our security camera installation page.
What does UniFi Access installation involve?
UniFi Access is the door-control application in the UniFi OS family. It manages entry points — front doors, garages, secondary structures, and gates — using the same console that runs your network and cameras. There is no separate app, no separate system, and no separate login.
We install Access Hubs, door readers (NFC, PIN, and mobile app unlock), and intercoms. Each reader integrates with UniFi Protect so you can visually confirm who is at the door before granting access — directly in the app.
- Front door NFC and mobile unlock
- Garage and side-entry reader mounting
- Secondary structure access (coach houses, studios)
- Gate entry with intercom integration
- Protect camera tie-in for visual verification
- Multi-user access scheduling and permissions
Installation adapts to the property — not the other way around.
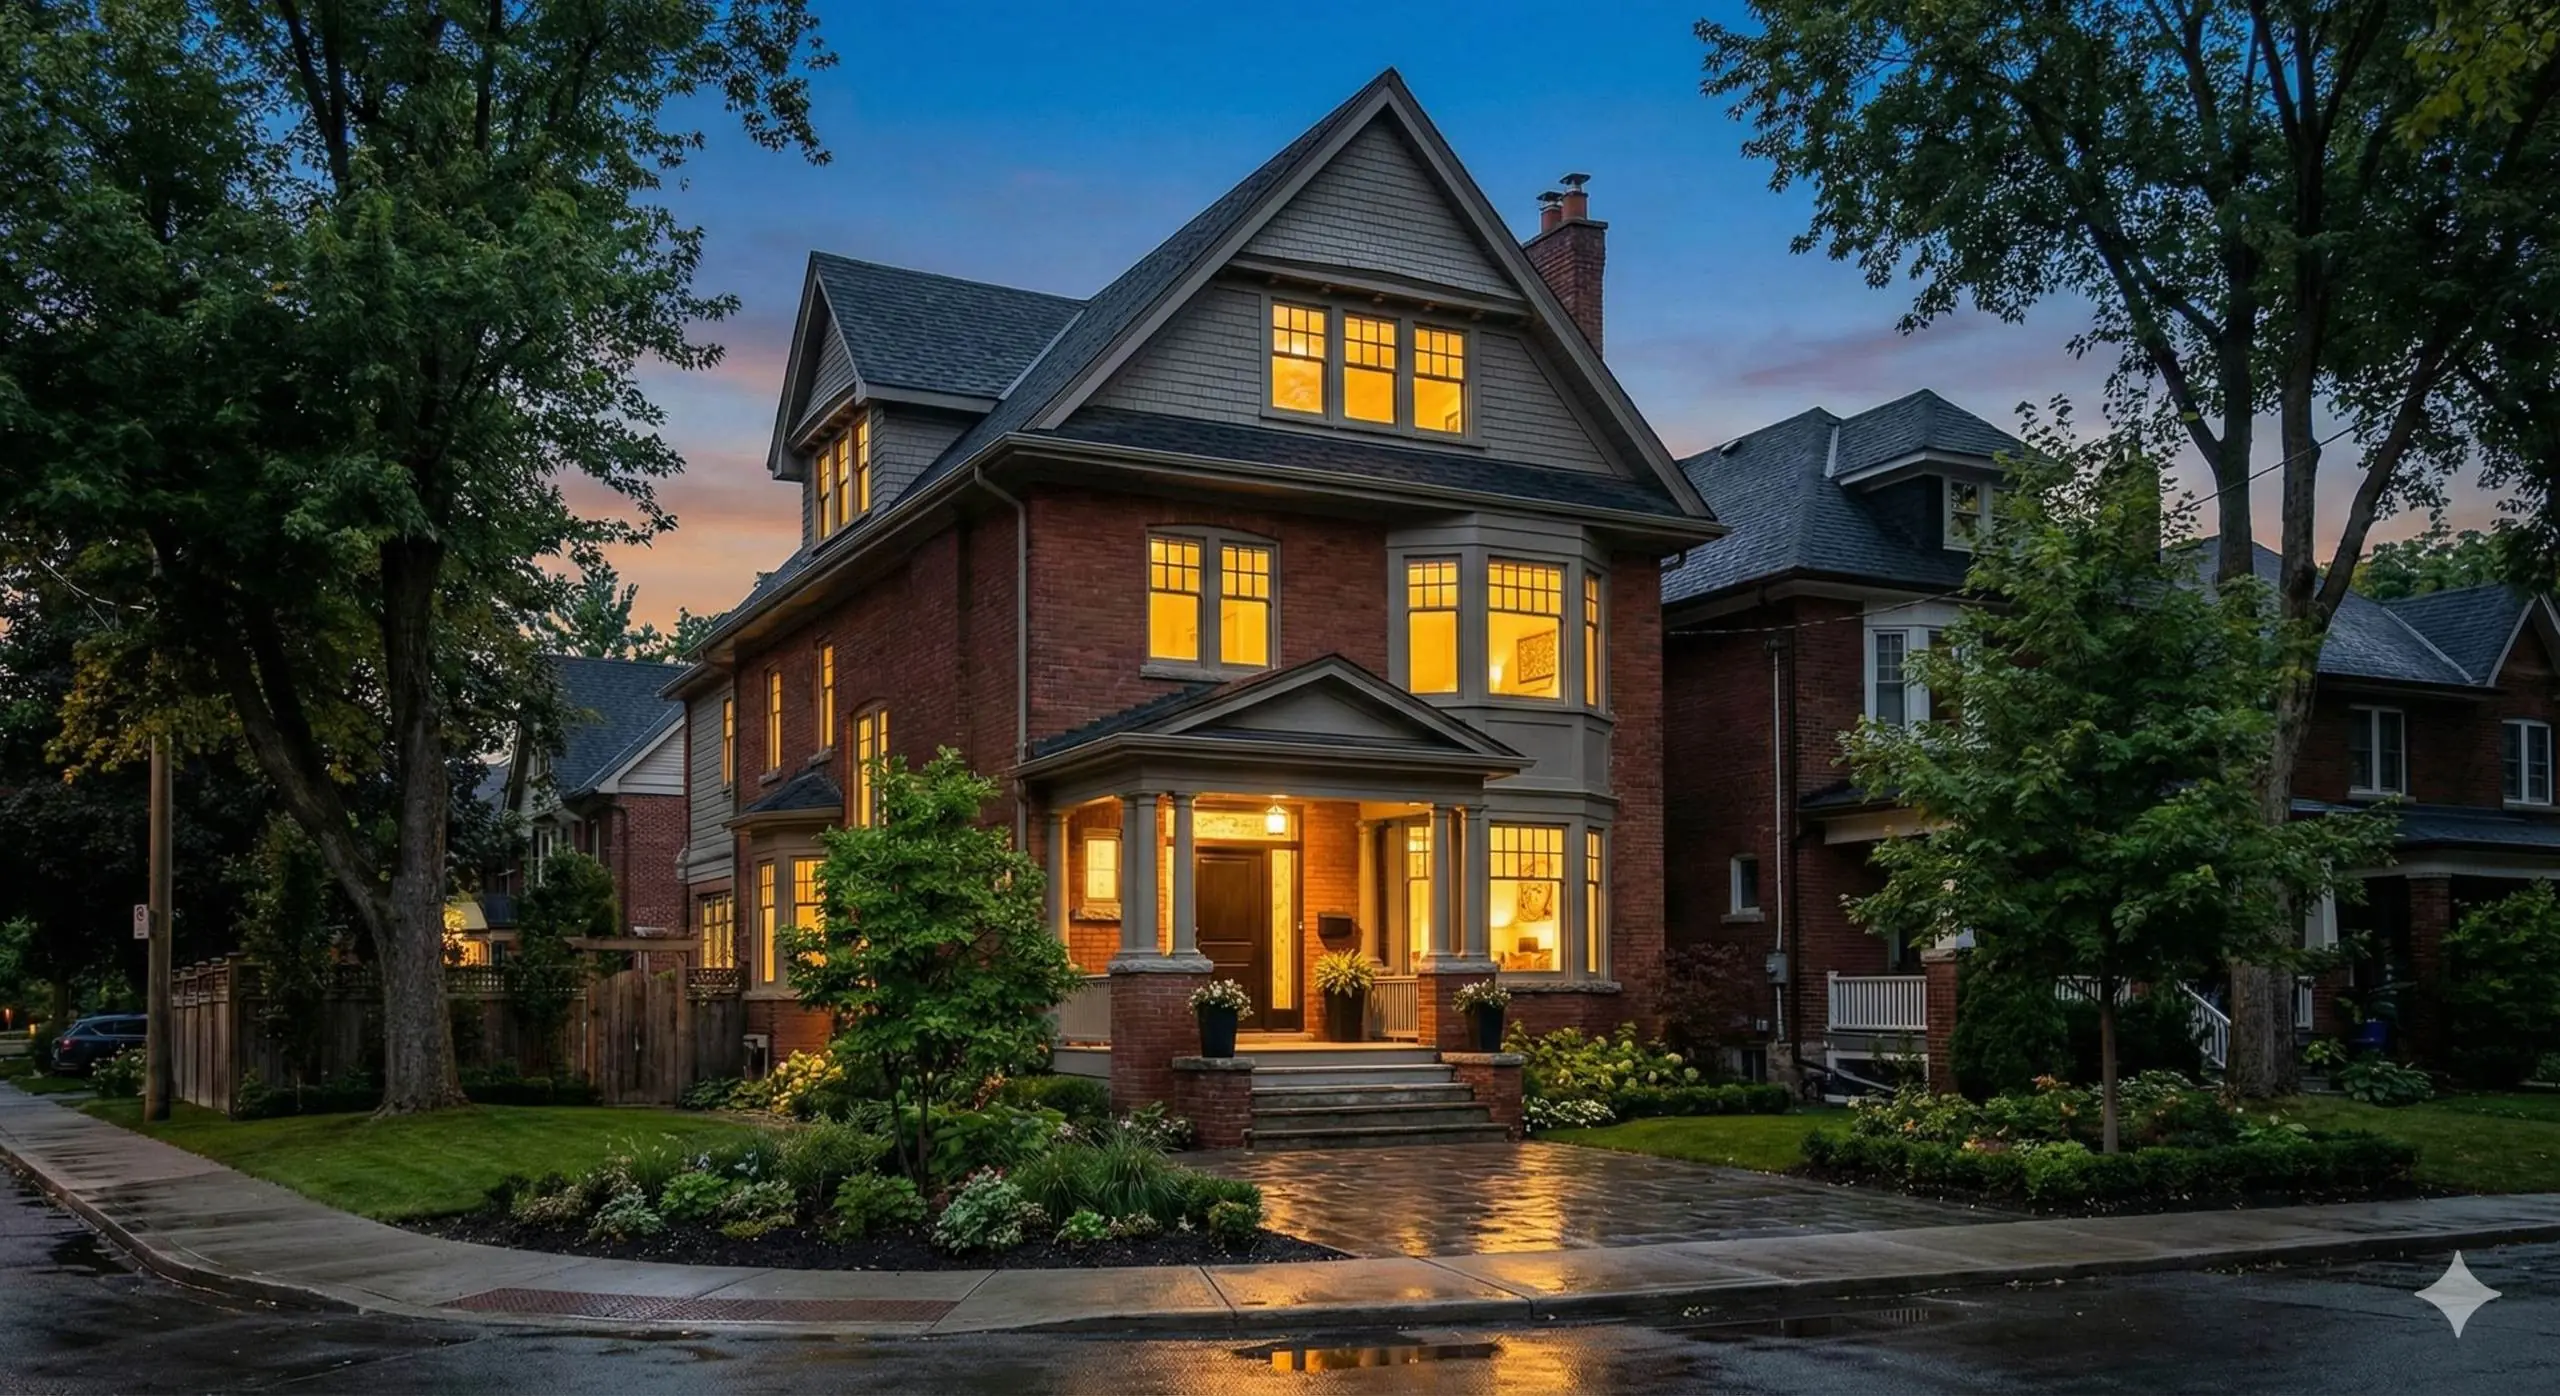
Homes in the area vary significantly in construction type, layout, and cable routing complexity. A UniFi deployment in a Forest Hill detached home is a different job than one in a Yorkville condo or a Leaside semi with plaster walls. Coverage planning and cable routing start from the actual floor plan — not from a standard-configuration template.
For homeowners building a broader smart-home ecosystem, our Control4 home automation work integrates with UniFi infrastructure at the network layer.
Detached homes
Multi-floor coverage typically requires two to four access points with wired Cat6 backhaul. Rack and NVR placement is usually the basement mechanical room. Outdoor cameras mount at eaves and soffits.
Century homes
Plaster walls and older construction require careful routing — we plan concealed cable paths and use existing chases where available to keep the install clean in character properties.
Condos
Cable routing is constrained by suite walls and riser access. Most condo deployments use one to two access points with surface-mount or ceiling-mount configurations. We work within the building’s restrictions.
Outdoor coverage
Patios, backyards, and driveways require weather-rated outdoor APs and PoE camera drops. We plan outdoor coverage as part of the same initial cable run — not as an afterthought add-on.
Common questions about UniFi installation.
UniFi Installation Near You in the GTA
SetupTeam serves communities across the Greater Toronto Area.
Plan your UniFi installation.
Whether you’re starting from scratch or adding cameras and access control to an existing system, a scope review confirms the cabling plan and hardware list before any work begins.
Bonded & insured · WSIB · $2M liability · 10,000+ completed projects