TV Wall Mounting in a Toronto Condo: What You Actually Need to Know
TV Wall Mounting in a Toronto Condo: What You Actually Need to Know
Approvals, concrete walls, cable management, and sound through shared walls — a practical guide for condo owners across the GTA.
The Short Answer
Yes, you can almost always mount a TV in a Toronto condo. The question worth asking isn’t whether it’s allowed — it’s what’s behind the wall, what your declaration actually says, and how you plan to deal with cables and sound in a space where the wall on the other side might belong to someone else. Get those three things right and a condo install looks identical to a house install. Get them wrong and you’re looking at patched drywall, a cranky property manager, or a neighbour who can hear every action sequence at 9pm.
What follows is the practical version — the things that actually matter when you’re mounting a TV in a Toronto or GTA condo, written for someone who wants to plan the job properly rather than wing it.
Quick Answers
Do I need condo board approval to mount a TV?
Usually no, but check your declaration and rules. Some buildings require written notice for any wall penetration, and a few require a contractor with insurance on file before any work happens.
Can you mount a TV on a concrete condo wall?
Yes. Concrete walls are actually the easiest to mount on once you have the right anchors and a hammer drill. The hard part is running cables, not holding the TV up.
Will it damage the wall?
Four small holes, properly anchored, do not constitute damage in any meaningful sense. Restoring the wall when you sell or move out is a 20-minute job.
How do I hide the cables without cutting up drywall?
A recessed in-wall power kit on a drywall partition, or a slim paintable cable cover on a concrete wall. Both look clean when done properly.
Condo Board Approval: When You Actually Need It
Most Toronto condo declarations don’t say a word about wall-mounting a TV. It’s treated like hanging a heavy picture — a normal use of your unit, not an alteration. But “most” isn’t “all,” and the only way to know which kind of building you live in is to actually read the documents.
Two places to look. The declaration tells you what counts as your unit versus common element, which matters because some buildings define interior walls as common element even though you live behind them. The rules and bylaws tell you whether the board has imposed any procedural requirements — written notice, an indemnity form, proof of contractor insurance. None of this is exotic. It just exists, and ignoring it is how people end up with passive-aggressive letters from property management.
If you bought your unit recently, this information is in your status certificate package. If you’ve been there a while and can’t find it, the property manager will send you a copy on request. The whole check takes about ten minutes.
One real edge case: if your TV wall happens to be a demising wall — the structural divider between two units — some declarations restrict what you can attach to it. This is uncommon in newer Toronto buildings, where unit dividers are typically concrete and explicitly part of common element, but it does come up in older conversions.
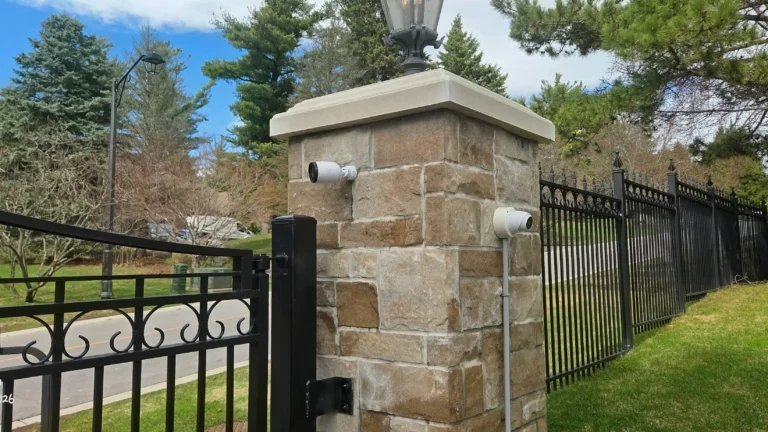
What’s Behind That Wall? Concrete, Steel, and the Stud Question
This is where condo mounting genuinely diverges from a house. In a typical Toronto detached home, you find a stud, drive lag bolts into wood, and you’re done. In a condo, the wall behind your TV could be one of three completely different things — and each needs a different approach.
Solid concrete. Most common in Toronto condos built from the 1990s onward, especially on perimeter and demising walls. Concrete is the strongest substrate you can mount to — no stud-finder anxiety, no wondering whether the anchor will hold. You drill with a hammer drill and a masonry bit, sleeve anchors take the load, and the TV isn’t going anywhere. The catch is that concrete is unforgiving. You don’t get to reposition. Measure carefully, drill once.
Steel-stud drywall. Common on interior partition walls in condos of all ages. Steel studs hold a TV mount fine, but they require toggle anchors rated for the load — not the standard wood-screw lag bolts included in most mount boxes. People who try to mount a 65-inch TV into steel studs with the hardware from the box end up with a TV on the floor. This is the failure mode professional installers see most often in condo work.
Wood-stud drywall. Less common in concrete high-rises but standard in stacked townhouses, lofts, and converted buildings. Treat it the same as any house wall.
Before you drill anything, know which type you have. Tap the wall — concrete sounds dead and solid, drywall sounds hollow. A magnet stud finder will pick up steel studs immediately. If the wall is concrete and you’re worried about hitting electrical or plumbing, a basic wall scanner will find embedded conduit. Load capacity is rarely the issue people expect. A modern 65-inch TV weighs around 25 kilograms. Any properly anchored mount will hold that easily. The risk isn’t the wall failing — it’s the anchor being wrong for the substrate.
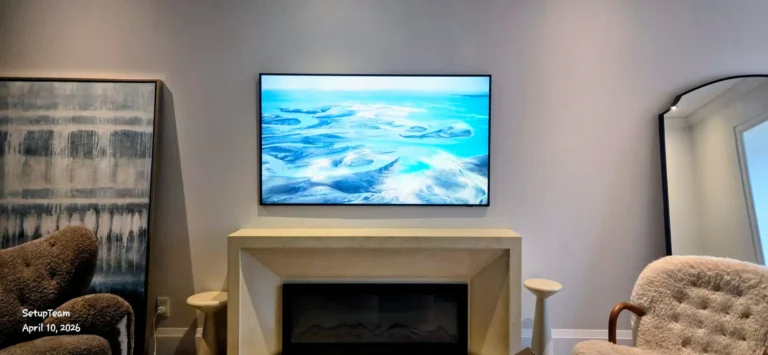
Hiding Cables Without Tearing Up the Wall

Professional cable routing behind a wall-mounted TV — recessed plate on the left, tidy conduit on the right.
This is the part of a condo install that separates a job that looks finished from one that looks like a project the homeowner gave up on halfway through. The TV is up, and there are five cables hanging down to the console. Nobody actually wants that.
You have three real options in a condo, and which one fits depends on the wall type and how willing you are to do mild drywall work.
Recessed in-wall power and signal kit. The cleanest result on a drywall partition. You cut two small rectangular holes — one behind the TV, one behind the console — and install paired plates that route HDMI and a code-compliant power extension through the cavity. From the front, nothing is visible except the TV. This only works on drywall walls with an empty cavity. It does not work on concrete.
Slim paintable cable cover. The right answer when the wall is concrete or when you don’t want to cut drywall. A surface-mounted channel runs vertically from the TV down to the console, the cables sit inside it, and you paint it the same colour as the wall. Done well, you stop noticing it within a week. Done poorly, it looks like exactly what it is. The difference is whether the channel is straight, the corners are caulked, and the paint matches.
Behind the baseboard or along the ceiling. A more involved option that requires lifting baseboard or running a discreet conduit along the ceiling line. Usually only worth the effort in a custom installation where the rest of the room is being addressed at the same time.
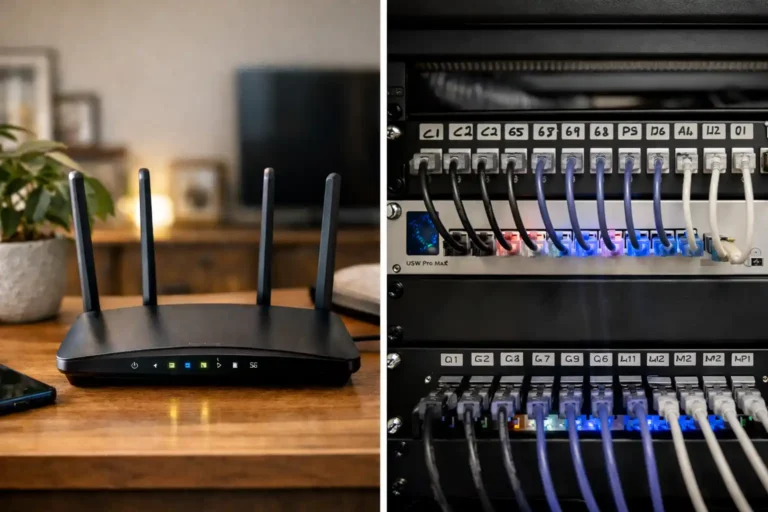
One detail that matters more than people expect: any streaming device or media player living behind the TV depends on solid wireless signal. If your router is on the other side of a concrete wall, an Apple TV or Fire Stick mounted behind the screen may struggle. This is one of the small reasons it can be worth thinking about your Wi-Fi and network optimization at the same time as the TV install rather than discovering the problem afterwards.
Sound, Neighbours, and Shared Walls
Here is the honest version. A wall-mounted TV does not significantly change how much sound passes into your neighbour’s unit. The TV’s speakers are firing forward, into the room, not into the wall. What changes the sound situation is the audio system you connect to it.
If you’re running TV speakers or a modest soundbar at reasonable volume, you’re fine. If you’ve added a subwoofer, you’ve introduced the one frequency range that travels easily through concrete and drywall alike. Low-frequency vibration is the thing neighbours complain about — not dialogue.
Subwoofer placement. Don’t put it directly against a shared wall. Move it at least a foot away and place it on a small isolation pad. The pad costs around forty dollars and dramatically reduces structural transmission of low frequencies into the floor and the wall behind it.
Mount type. Bolting a TV to a demising wall does technically create a slightly more rigid coupling than placing it on a stand, but the difference is inaudible at normal viewing volumes. The mount itself is not the problem. The audio system is.
For owners building out a more involved setup — in-ceiling speakers, a dedicated subwoofer, a proper surround layout — the conversation shifts from “will my neighbour hear it” to “how do we design this so it sounds excellent inside the unit and doesn’t escape it.” That’s the territory of a proper home cinema installation, where speaker placement, calibration, and isolation all get planned together rather than improvised after the fact.
Choosing the Right Mount for Condo Living
Condos reward restraint in mount choice. The more mechanism you bolt to the wall, the deeper the TV sits when not extended — and in a small living room those extra inches matter.
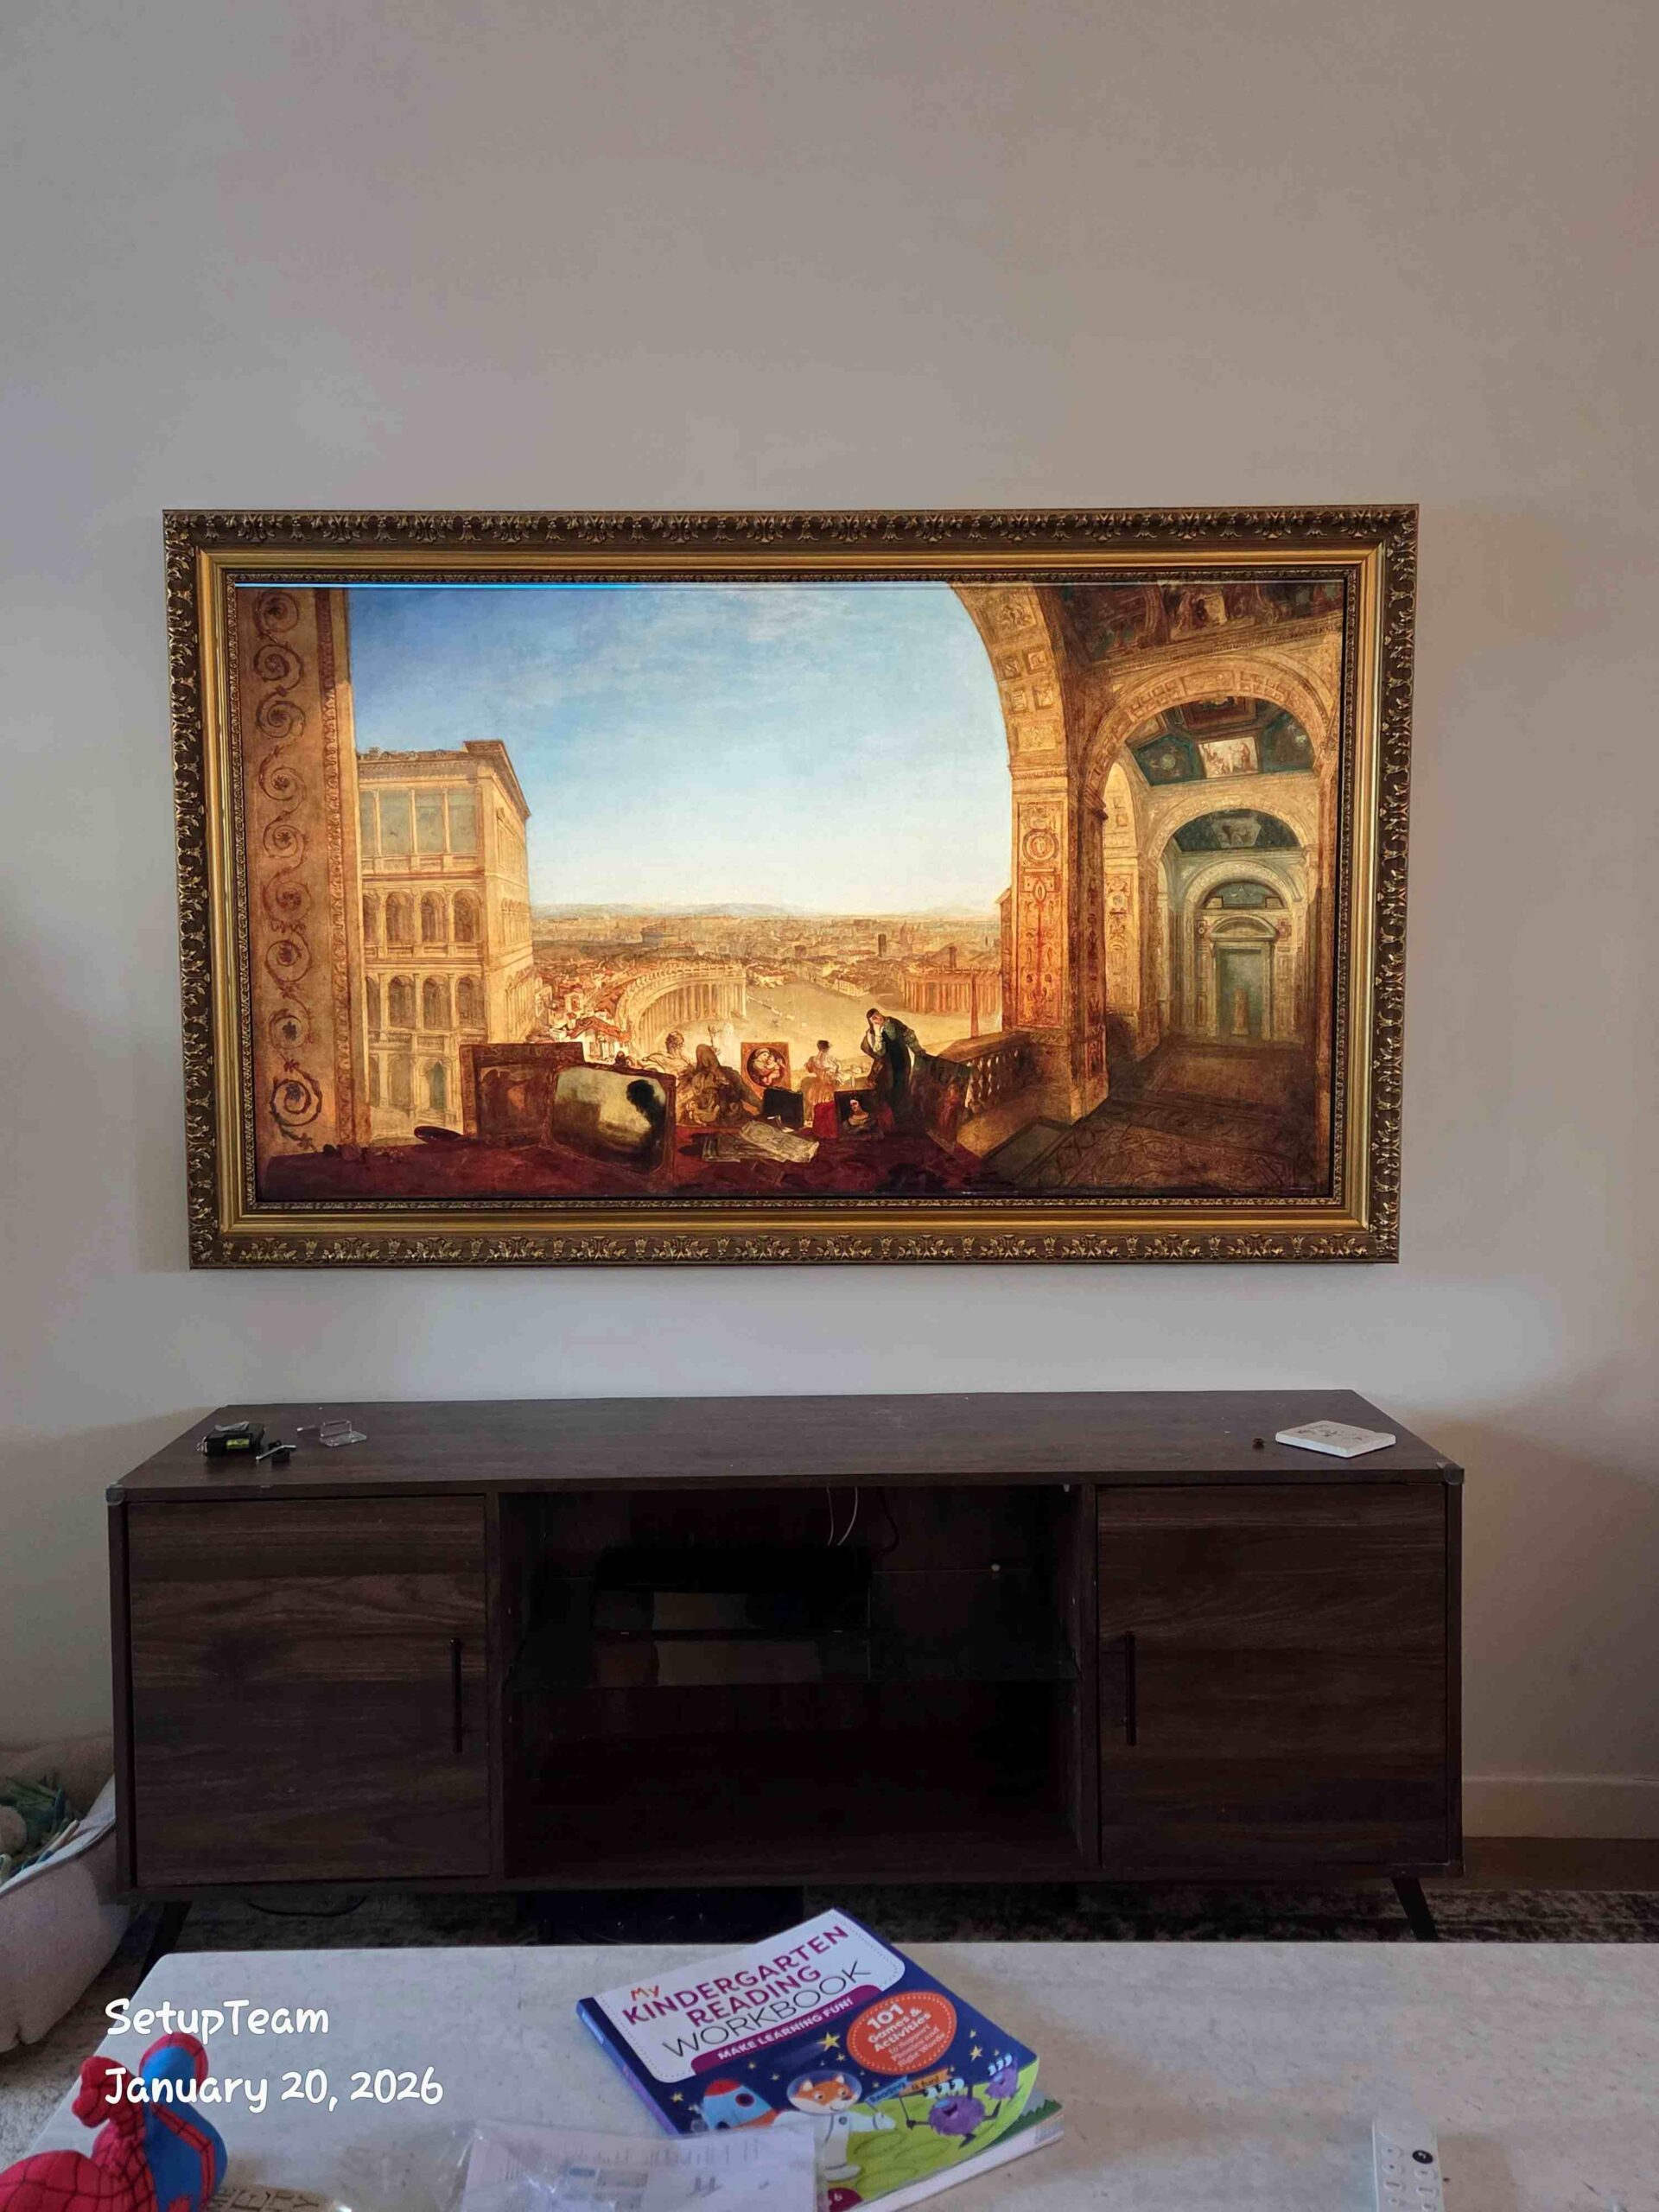
Fixed low-profile mount. The TV sits roughly 25mm off the wall. Looks built-in. No adjustment after install. Best for rooms where the seating position is straight on and the TV height is right the first time. The most common and usually the best choice for a condo.
Tilt mount. Adds about 15–20mm of depth and lets you angle the screen down. Worth it if the TV has to sit higher than ideal — above a fireplace, for instance — to compensate for the viewing angle.
Full-motion (articulating) mount. Extends out from the wall and pivots. Useful in open-plan condos where you want to watch from the kitchen as well as the sofa. The trade-off is that even when retracted, the TV sits 50–75mm proud of the wall, and the arm hardware is visible from the side. In a small space, that visible bulk is more noticeable than people expect.
For most Toronto condo living rooms, a fixed mount on a properly chosen wall at the right height looks better than any articulating mount ever will. The exception is when the room layout genuinely requires the screen to swivel.
One more thing worth knowing: the TV’s VESA pattern — the spacing of the four mounting holes on the back — determines which mounts will fit it. Almost every modern TV uses a standard VESA size, but it’s worth confirming before buying hardware rather than after.
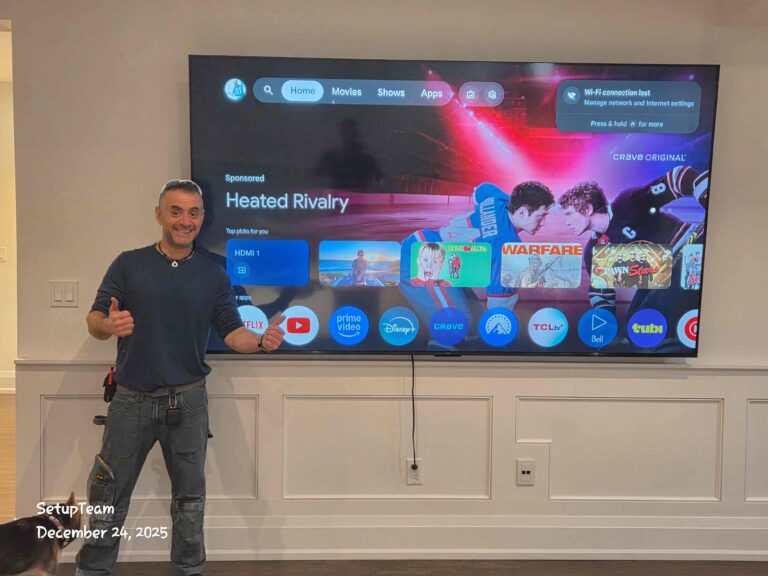
When It’s Worth Calling a Professional
A capable homeowner with the right tools can mount a TV on a wood-stud wall in an afternoon. That part isn’t mysterious. Where the calculation changes is when the wall is concrete, when cables need to be hidden cleanly, when there’s a condo board indemnity form involved, or when the install is part of a larger setup with audio, streaming, and network components that all need to work together.
The cost of a professional install in a Toronto condo isn’t really about the labour of putting the TV up. It’s about getting the height right the first time, choosing the correct anchors for the substrate, hiding the cables in a way that looks intentional, and not creating a problem with the building. Anyone who has watched a friend try to drill into a concrete wall with the wrong bit understands the value of the second option.
For owners who want the result to look like the TV was always meant to be there — flush, centred, no visible wires, no patched holes from a first attempt that went wrong — professional TV wall mounting in Toronto is usually the more economical path once you factor in the cost of the wrong hardware, the wrong holes, and the time it takes to figure out the right ones.
The honest summary: condo TV mounting isn’t difficult. It’s specific. The walls behave differently than house walls, the cable options are narrower, the building may have something to say about it, and the neighbour situation adds a constraint that doesn’t exist in a detached home. Plan around those four things and the result is a TV that looks like it belongs there — which, in a well-designed condo living room, is exactly the point.
Frequently Asked Questions
A fixed low-profile mount is usually the right choice. It sits about 25mm off the wall, looks built-in, and doesn’t waste depth in a small living room. Full-motion mounts are only worth the visible bulk when the room layout genuinely requires the screen to swivel between viewing positions.
TV speakers fire forward into your room, not into the wall, so dialogue and normal viewing volume rarely transmit. The exception is a subwoofer — low frequencies travel easily through concrete and drywall. If you have one, keep it away from shared walls and use an isolation pad.
Tap it. Concrete sounds dead and solid; drywall sounds hollow. A magnet stud finder will pick up steel studs immediately, which is the most common framing inside Toronto condo partition walls. Perimeter and demising walls in concrete high-rises are almost always solid concrete.
Technically yes, but check your lease. Many Toronto rental agreements require landlord permission for any wall penetration beyond a picture hook. Some landlords are fine with it if you commit to patching when you move out; others aren’t. Ask before you drill.
The centre of the screen should sit roughly at eye level when you’re seated on your main viewing furniture. In most condo living rooms that puts the bottom of a 65-inch TV around 65–70cm above the floor. Mounting too high — a common mistake — causes neck strain and looks wrong in a low-ceiling space.
Most buildings don’t require notification for routine wall-mounting, but a minority do. Check your declaration and rules, or ask the property manager directly. The check takes ten minutes and avoids the awkward conversation later.